How to Enter an AP Invoice
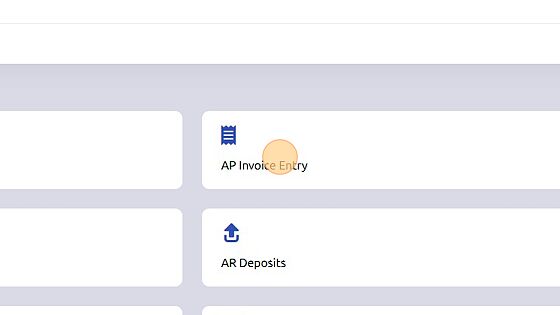
1. Click "AP Invoice Entry"
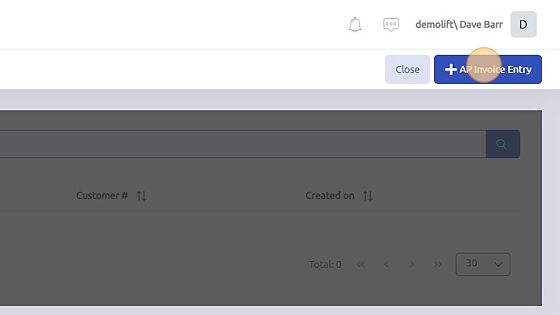
2. Click "AP Invoice Entry"
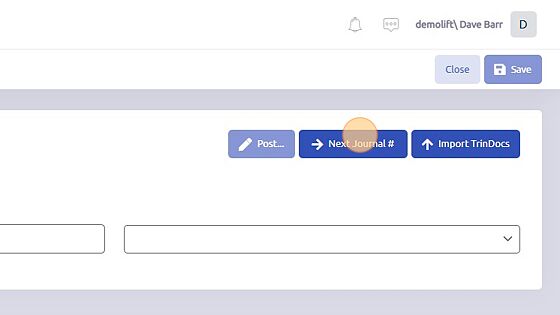
3. Click "Next Journal #"
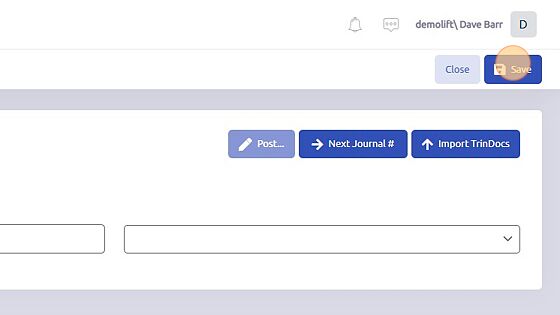
4. Click "Save"
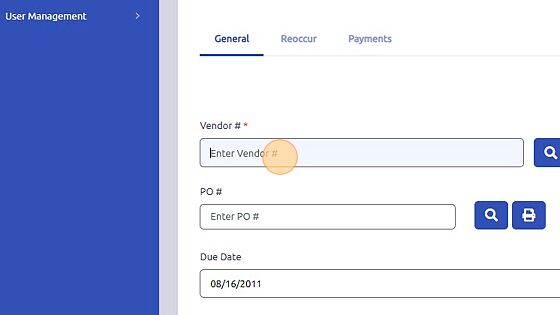
5. Click the "Vendor #" field and select the vendor you would like.
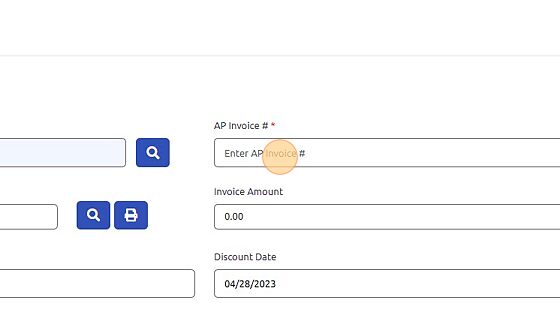
6. Click the "AP Invoice #" field and enter the invoice number.
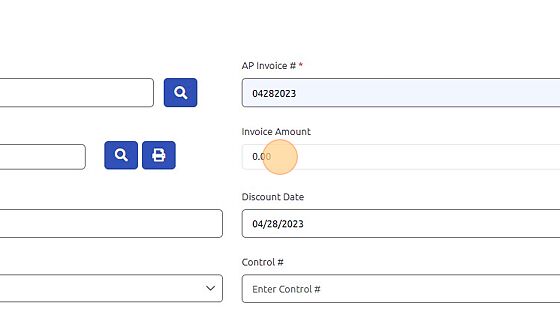
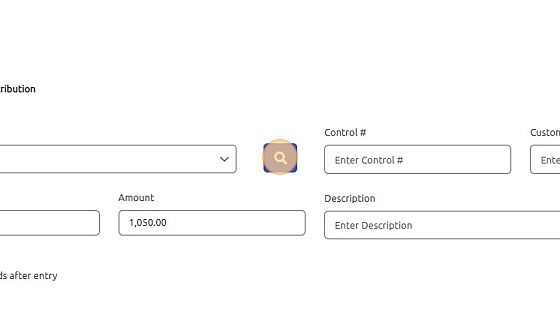
7. Click the "Enter Invoice Amount" field and add the invoice amount.
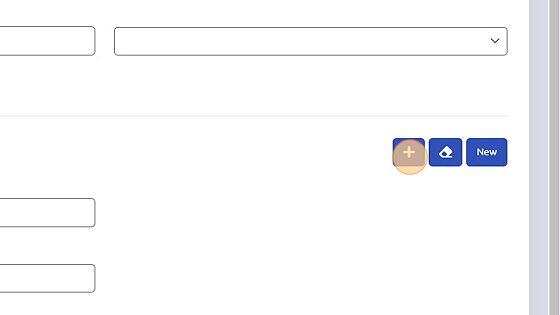
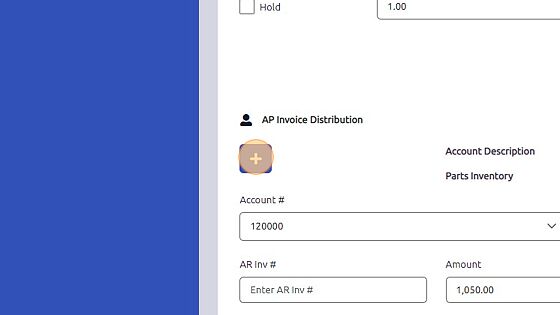
8. Click here to add the invoice distribution.
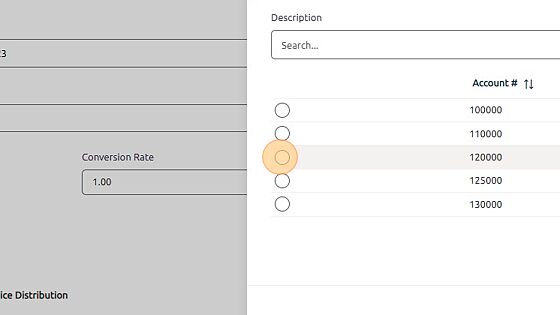
9. Click here. If you need to search for the correct GL account.
10. Click here.
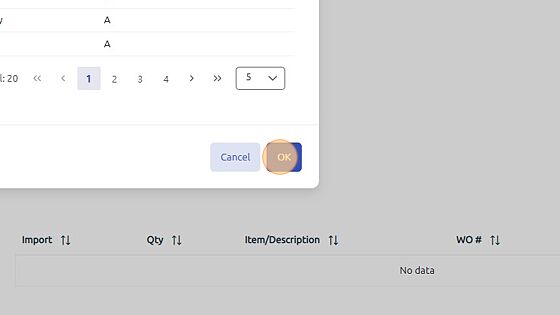
11. Click "OK"
12. Click here to save that.
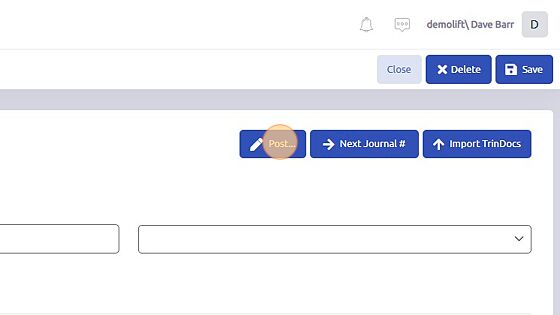
13. Click "Post..."
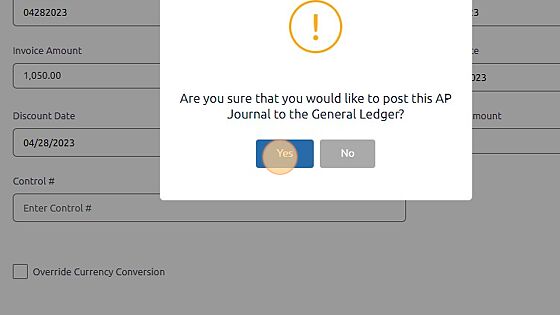
14. Click "Yes"
Was this article helpful?
That’s Great!
Thank you for your feedback
Sorry! We couldn't be helpful
Thank you for your feedback
Feedback sent
We appreciate your effort and will try to fix the article