1. Locate the work order you need to invoice:
- Filter by Branch and Department: Use the filtering options to select the relevant branch and department.
- Enter Work Order Number: Alternatively, type the specific work order number into the search field.
- Click Search: Initiate the search to find the desired work order.

2. Click the work order number that you need to invoice.

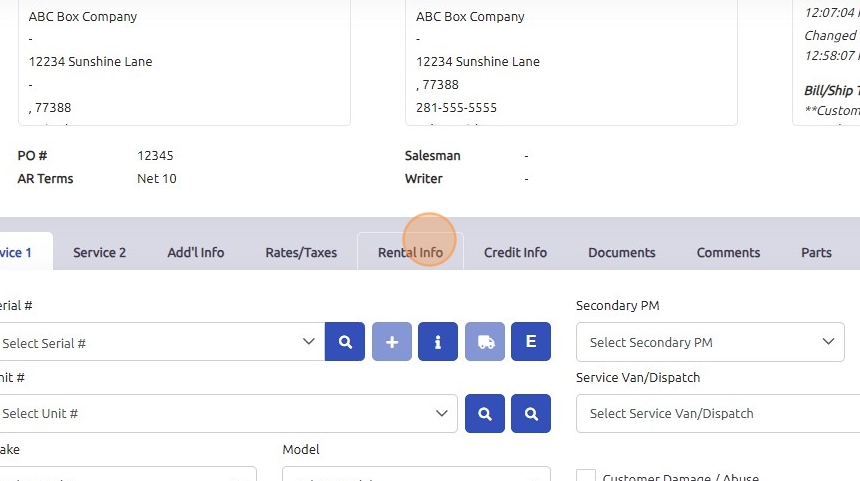
3. Click "Rental Info"
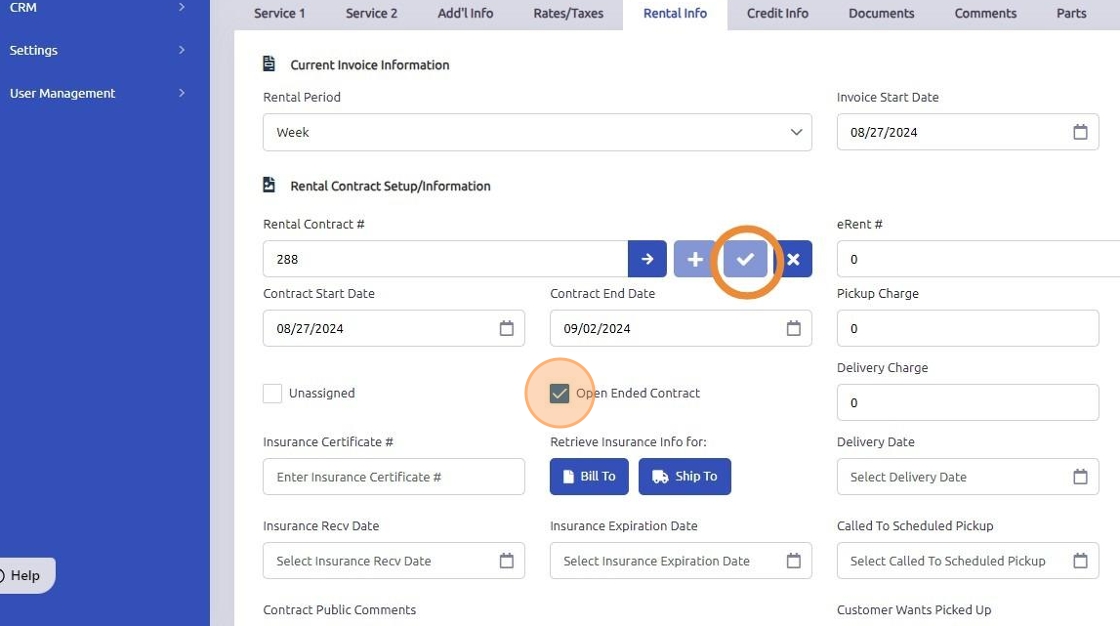
4. Ensure the rental dates and rental period are correct.
Under the rental contract section, uncheck the "Open Ended Contract" checkbox. This will ensure that the invoice is the final invoice for this rental contract and the document will not duplicate once invoiced.
Click the check button to save the changes made to the rental contract.
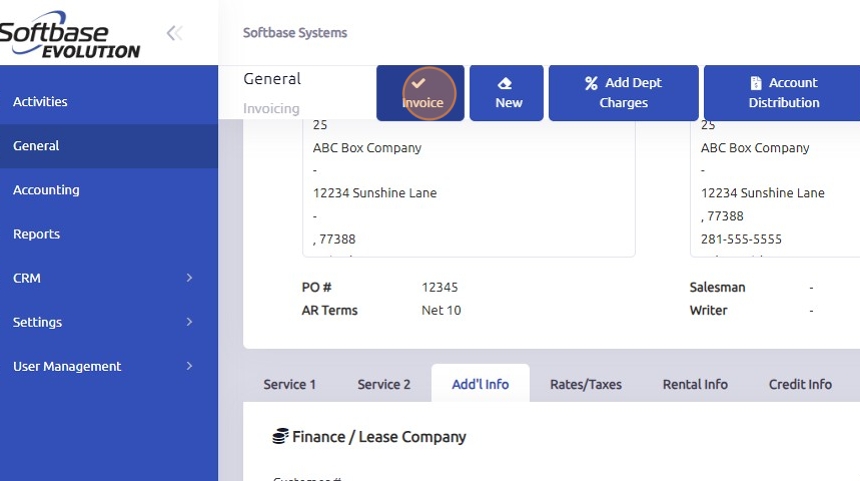
6. Go to the Additional Info tab and ensure the Reoccurring Document check box is unchecked.

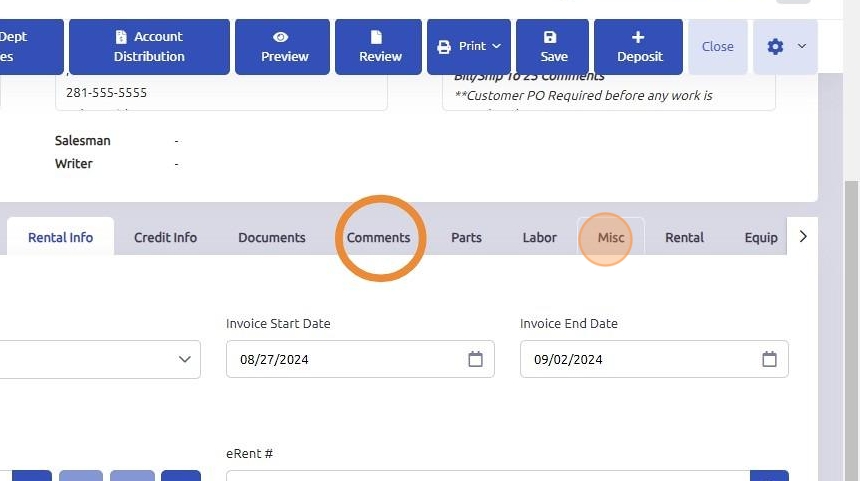
5. Enter any necessary comments into the public section in the comments tab, these will appear on the invoice for the customer to view. Then, click on the "misc" tab to add any additional miscellaneous charges that need to be included on the invoice.
6. Click the "Rental" tab.
Double-check that the rental unit and rate are correct. If any changes are made, ensure you click the "Update" button to save the changes.

7. Click "Add Dept Charges" if applicable to your dealership.

8. If multiple departmental charges are set up, each one will require a "Yes" or "No" to indicate whether the charge should be added to the work order.
Click "Yes" for any pop ups if they are applicable to this rental contract.

9. Click "Save"

10. Click "Invoice"
11. Any confirmation pop-ups will appear for verification, such as PO numbers or if there are any discrepancies. Ensure to review and address these before finalizing the invoice.

12. Confirm you do not want the document to reoccur.

13. Confirm you want to create an invoice.

14. If Auto Create Inspection Work Order is set up on the Rental Department, a service work order will open automatically at the time of invoicing.

15. Click "OK"

Was this article helpful?
That’s Great!
Thank you for your feedback
Sorry! We couldn't be helpful
Thank you for your feedback
Feedback sent
We appreciate your effort and will try to fix the article