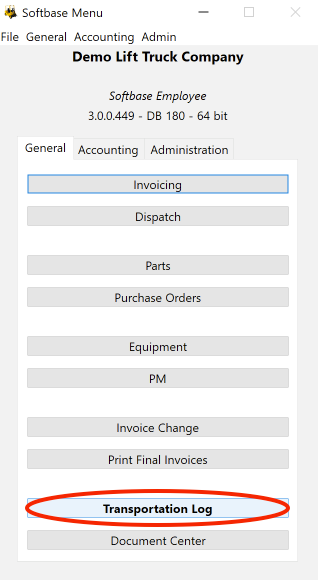
Transportation Log is accessed from the main menu.
How do you send a piece of equipment to the Transportation log?
- In Invoicing there is a button with the image of a "haul truck." This button is located in multiple places.
- On a service work order use the button located under the Service 1 tab.
- On a rental work order use the button located under the Rental tab.
- On a sales order use the button located under the Equipment tab.
- On the Purchase Order window under the Equipment tab when you select the equipment.
When you click the transportation button you will see a small window to identify details for the transportation log
Once you 'send to transportation' the unit will then show up in the Transportation Log screen on the bottom right. (If you were already in the Transportation Log you will need to Refresh. Otherwise it should be there when you open the screen.)
You will need to enter a tracking # then click Add. (Note: the tracking # is not created until you click add) If you just click Add without typing in a number the system will assign the next available number. There is a field labeled Truck #, if using an in-house transport truck you can enter the truck number.
You will then enter your hauler info and click update.
Then find your unit in the list on the bottom right. If you double click on the unit it will pull it over to the bottom left and will auto populate the Origination and Destination fields. Or you can single click and use the ‘Assign’ button.
You can schedule your transport in advance by selecting the equipment and clicking the checkbox for ‘Sched Pickup’ or ‘Sched Delivery’. You will need to select the appropriate Branch and Dept and click Update. This will allow you to see your scheduled transport jobs in the dispatch window under the Schedule tab.
When your hauler notifies you that he is picking up your unit, you will simply pull up your tracking number. You'll notice the unit you assigned is highlighted in pink in the box on the bottom left. Click once on the unit and your pickup/delivery info on the right will show dates and times pertaining to this unit #/tracking #. You will then click the box for Actual Pickup, notice the Update button became available. Click update to save this change.
Note when you select an open tracking # from the drop down list, the info on the right is still looking at the previous ticket, so be sure to click on the unit at the bottom to get accurate details on your specific unit's pickup/delivery. If you pay close attention you'll notice the serial # info that populates when you click on your specified unit)
The last step is when your hauler notifies you the delivery to your specified destination has been completed. At this time you will again select your open tracking # from the drop down list. Once again choose the specific unit at bottom left (highlighted in pink). You'll see all your dates and times again, only leaving Actual delivery remaining. Click the checkbox for Actual Delivery and once again you will need to click Update.
Once this is done three things occur. 1) Your unit is no longer highlighted in pink 2) Your tracking ticket is now completed/closed 3) Your tracking # will no longer be available in the drop down list as this only shows active tracking #s.
With that said, if you have a situation where you need to view a tracking # that has been completed all you need to do is enter that tracking # and you will be able to review all the details on that tracking # just as you did before.
Was this article helpful?
That’s Great!
Thank you for your feedback
Sorry! We couldn't be helpful
Thank you for your feedback
Feedback sent
We appreciate your effort and will try to fix the article