Tip: First, ensure the Vendor you're sending the parts back to has been set up as a non-taxable customer.
1. Open document to "sell" the part(s) back to the vendor, set up as a customer.

2. Add the part(s) to send back to the vendor.
Note: the Sell Rate should match the original Cost of the part. If you know the vendor will be issuing a partial refund, you can enter the amount you're aware they will be refunding you as the Sell Rate. Ex: If the part was originally $20 but they will give you a 90% refund at $18, you can go ahead and enter the Sell Rate at $18.

3. Close the return invoice. Ensure no tax has been added.
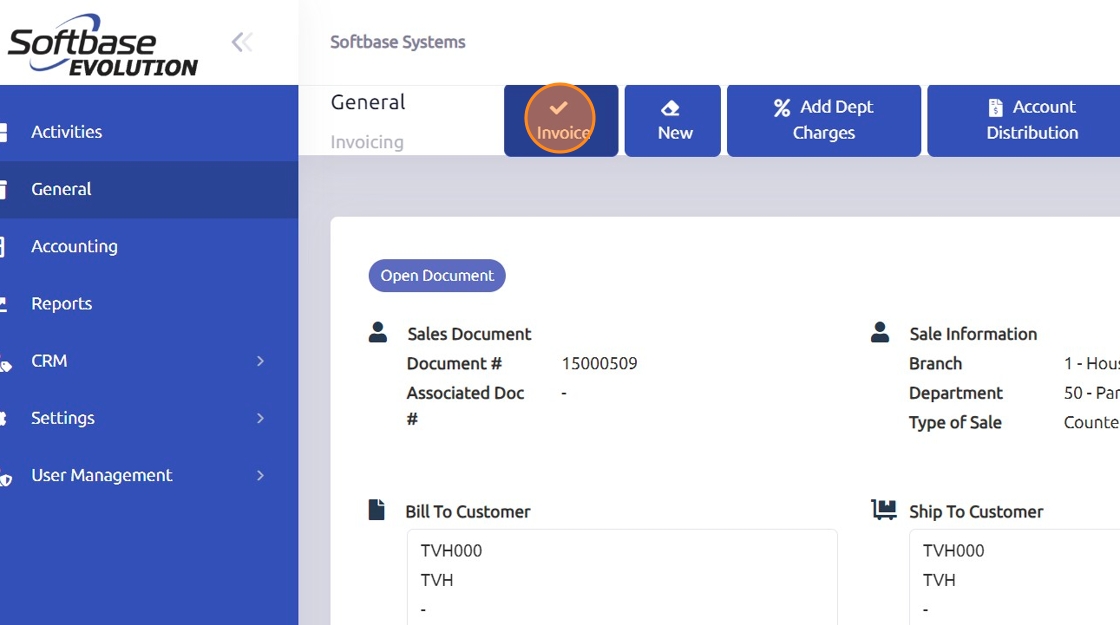
4. Click "OK"

Tip: Tip: You may print a picking list from the Invoice Document > Print > Print Picking List.
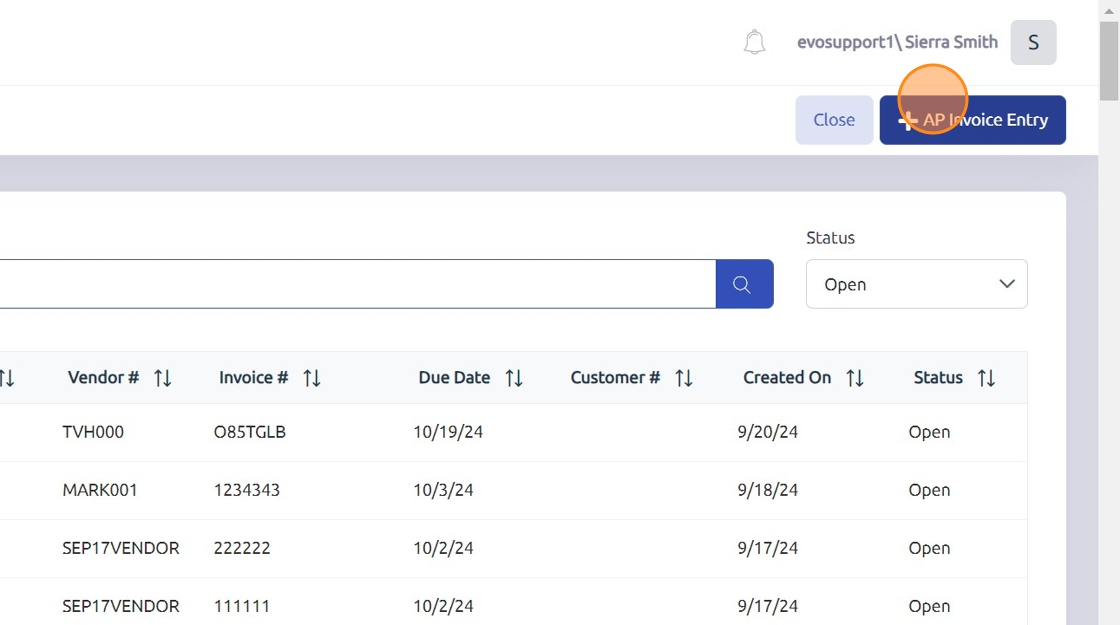
5. To enter the payment from the vendor, navigate to Accounting > AP Invoice Entry.

6. Click "AP Invoice Entry"
7. Click "Next Journal #"

8. Click "Save"

9. Enter AP Invoice Details, including the Vendor you're receiving payment from, the credit invoice #, and the amount of the credit as a negative to indicate that it is a credit.
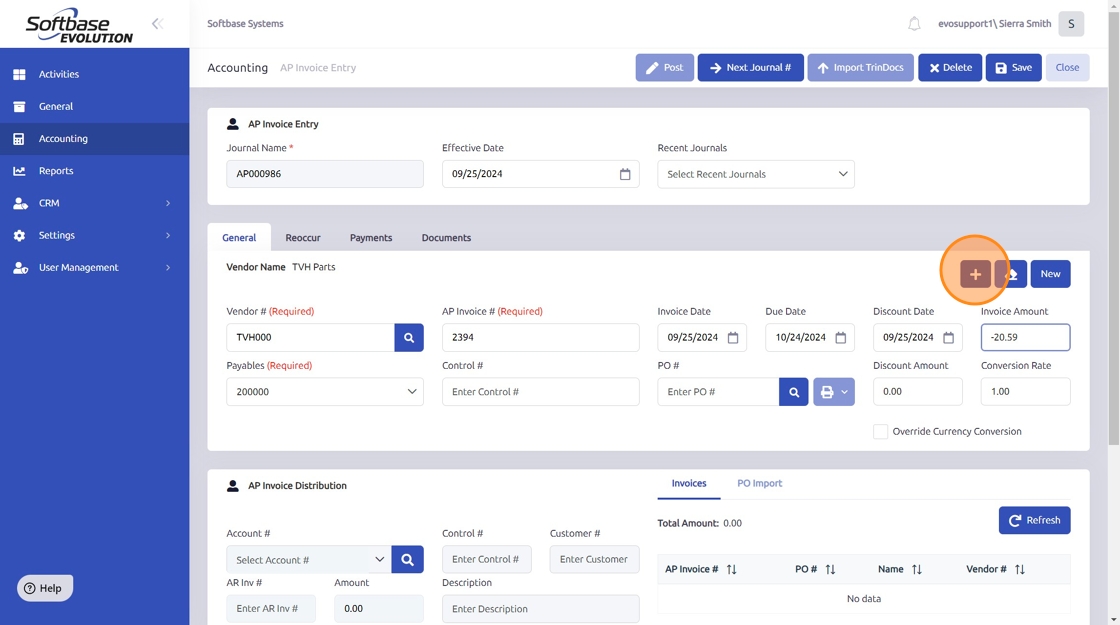
10. The GL Account # used in AP Invoice Distribution will be Accounts Receivable.
Enter the Customer # and AR Invoice # from the invoice where you "sold" the parts back to the Vendor set up as a Customer.

11. Post credit invoice.

12. Click the "Customer #" field.

13. To review how the credit AP Invoice was applied to the AR Invoice for the vendor/customer, navigate to Accounting > AR Inquiry > Search for Customer (vendor).

14. To review how the vendor credit is reflected in AP, navigate to Accounting > AP Inquiry > Search for Vendor.

Was this article helpful?
That’s Great!
Thank you for your feedback
Sorry! We couldn't be helpful
Thank you for your feedback
Feedback sent
We appreciate your effort and will try to fix the article