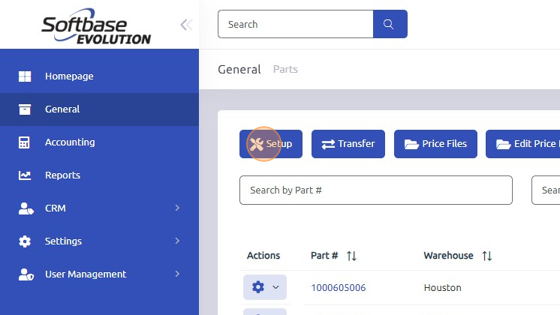
1. Open "Parts" from General page.
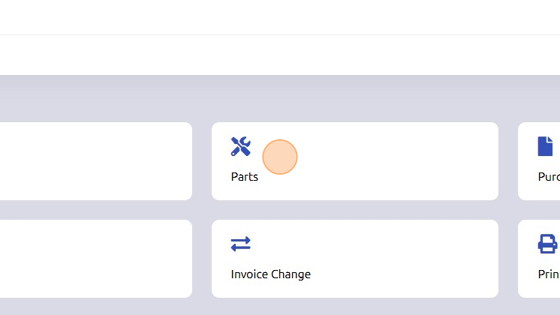
2. Click here.
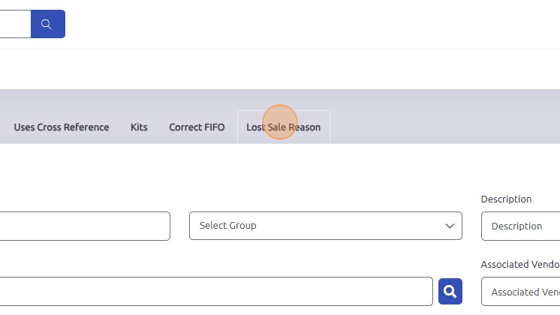
3. Click "Lost Sale Reason"
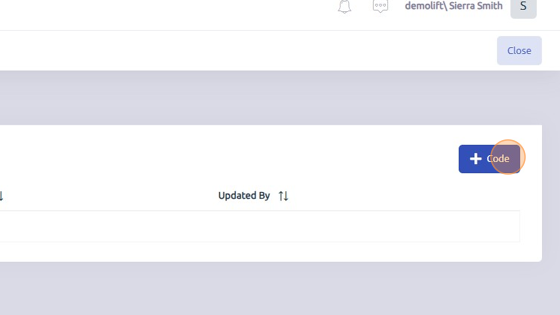
4. Click "Code"
5. Enter reason code here.
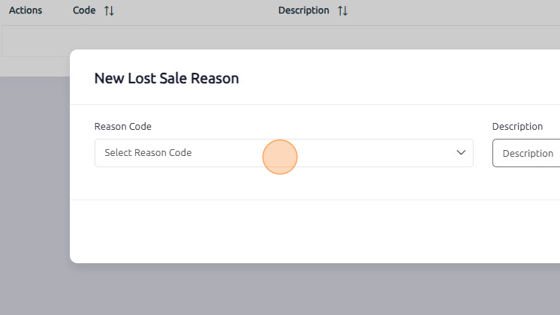
6. Enter reason description here.

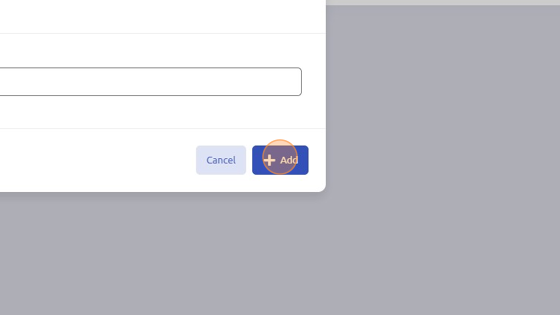
7. Click "Add" to save Lost Sale Reason.
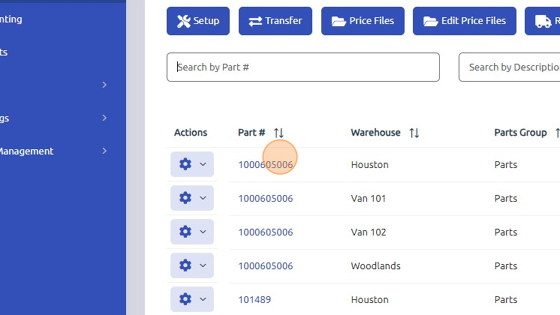
8. To use Lost Sale Reason, select part number you'd like to record it for (General > Parts > select part number).
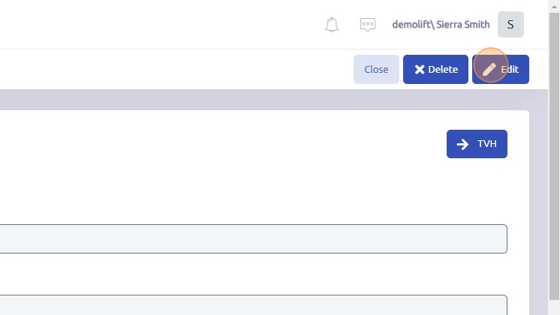
9. Click edit.
10. Scroll down to Pricing/Qty tab.
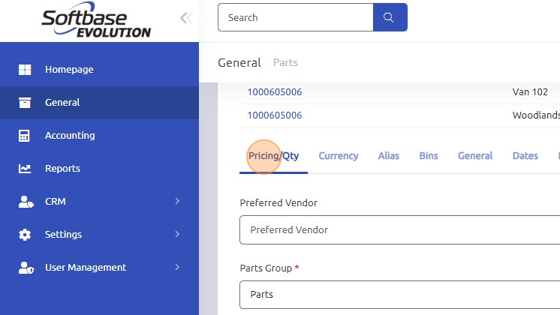
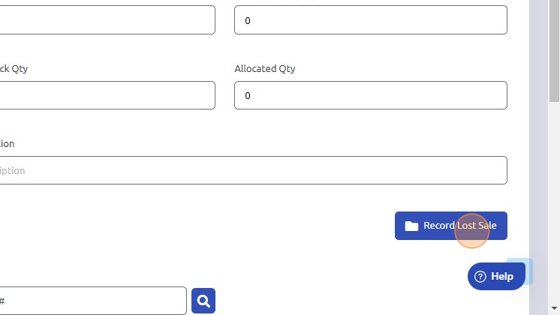
11. Click "Record Lost Sale"
12. Enter Lost Sale Quantity here.
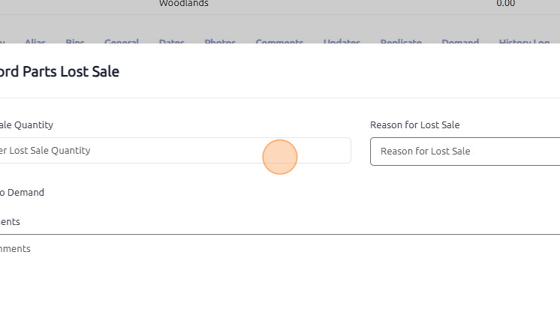
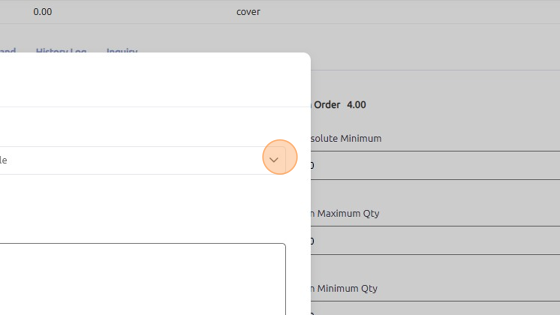
13. Select Reason for Lost Sale from dropdown.
14. Enter comments (optional).
15. Click "Done"

Was this article helpful?
That’s Great!
Thank you for your feedback
Sorry! We couldn't be helpful
Thank you for your feedback
Feedback sent
We appreciate your effort and will try to fix the article