1. Open "Purchase Orders" from General page.
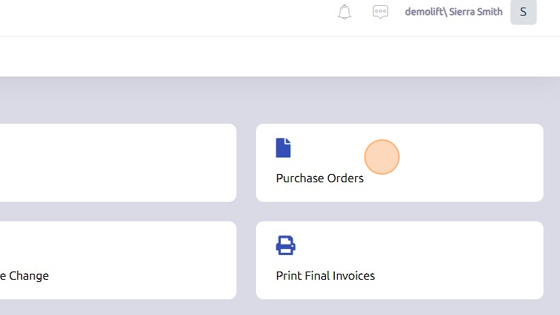
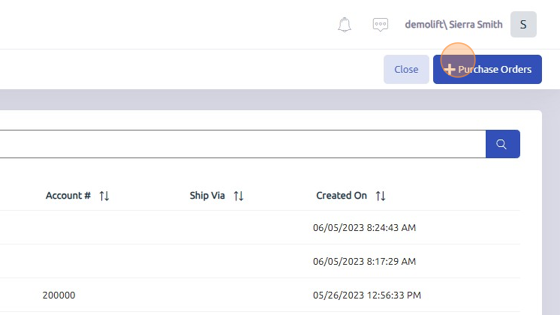
2. Click "+Purchase Orders" to create a new PO.
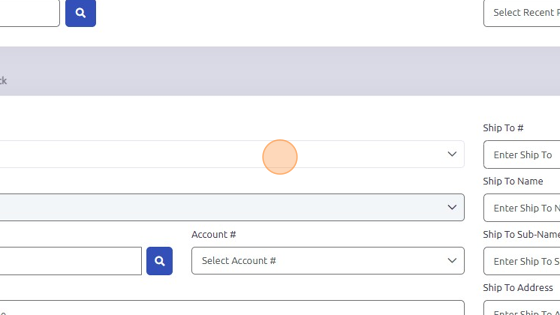
3. Select Branch and Department from dropdowns.
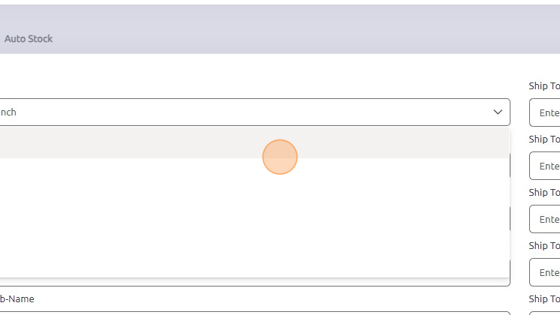
4. Click "Houston"
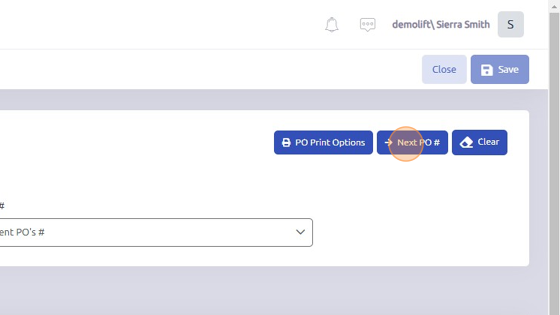
5. Click "Next PO #" to generate new Purchase Order #.
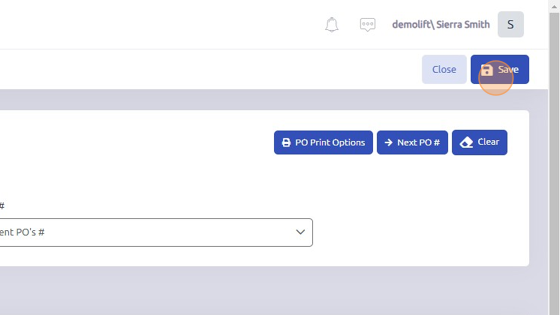
6. Click "Save" to create new PO.
Note:
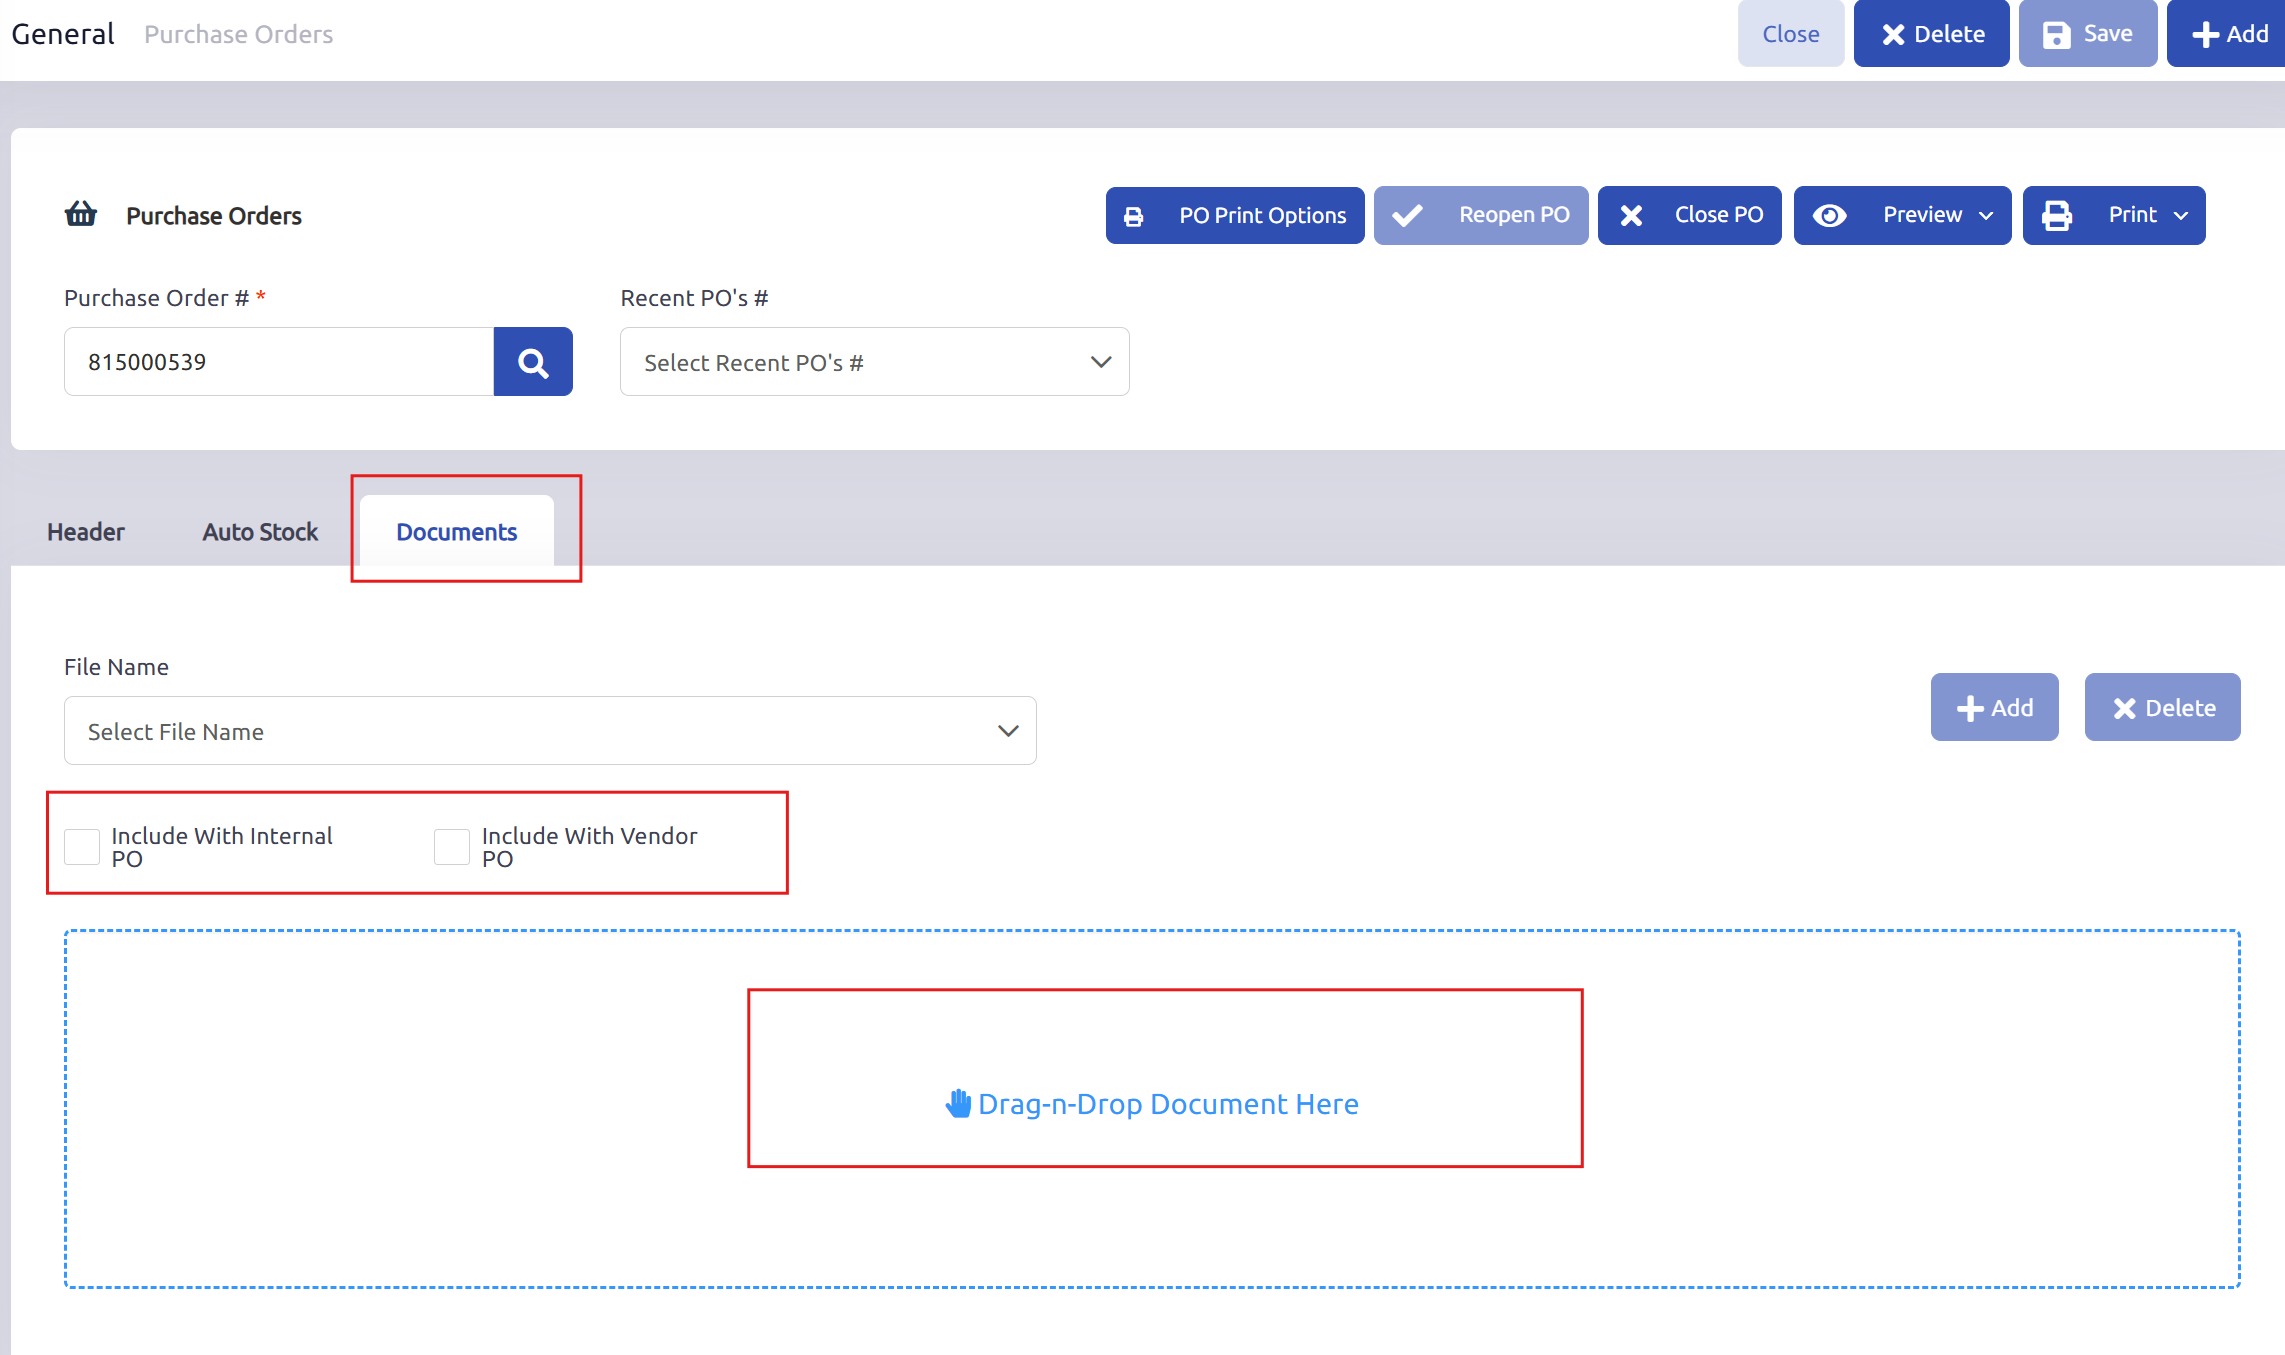
You can also attach documents and include them with your purchase order as needed.
Images can be dropped onto a PO on the Documents tab and can be included with the PO if the checkbox is checked.
Was this article helpful?
That’s Great!
Thank you for your feedback
Sorry! We couldn't be helpful
Thank you for your feedback
Feedback sent
We appreciate your effort and will try to fix the article