1. Click "AP Invoice Entry" in the Accounting Section.

2. Click "Add AP Invoice Entry"

3. Click "Next Journal #"

4. Click "Save"

5.
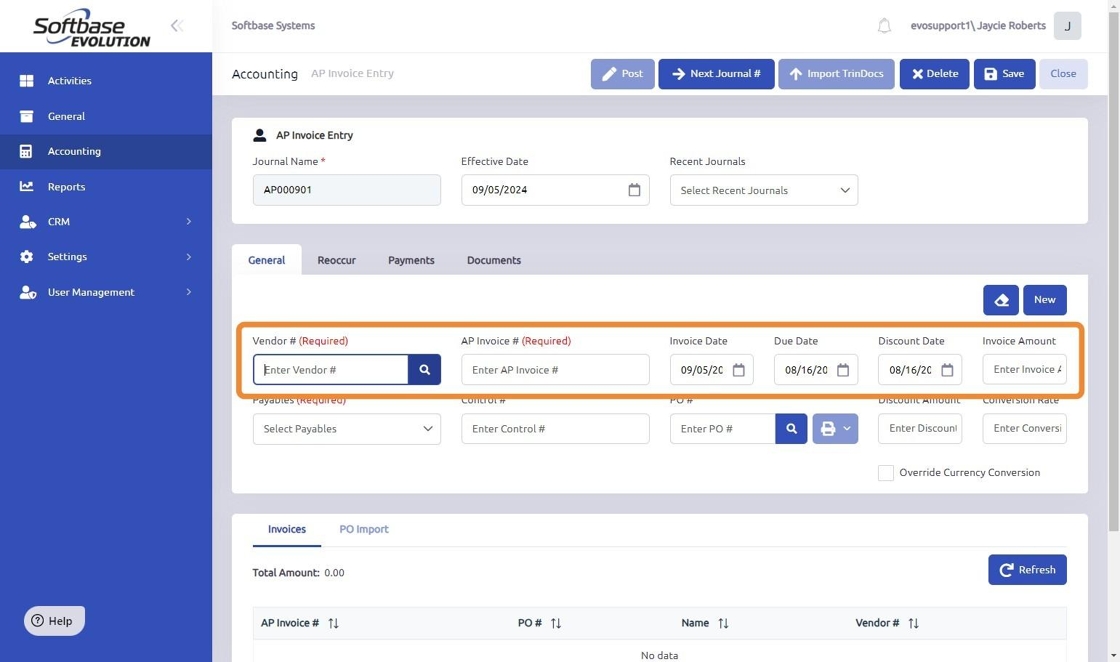
- Enter the vendor number in the Vendor # field or use the search to select the vendor.
- Input the vendor invoice number in the AP Invoice # field.
- Choose the Invoice Date and Due Date.
- Enter the Invoice Amount.

6. Select the correct Payables account from the drop down menu.

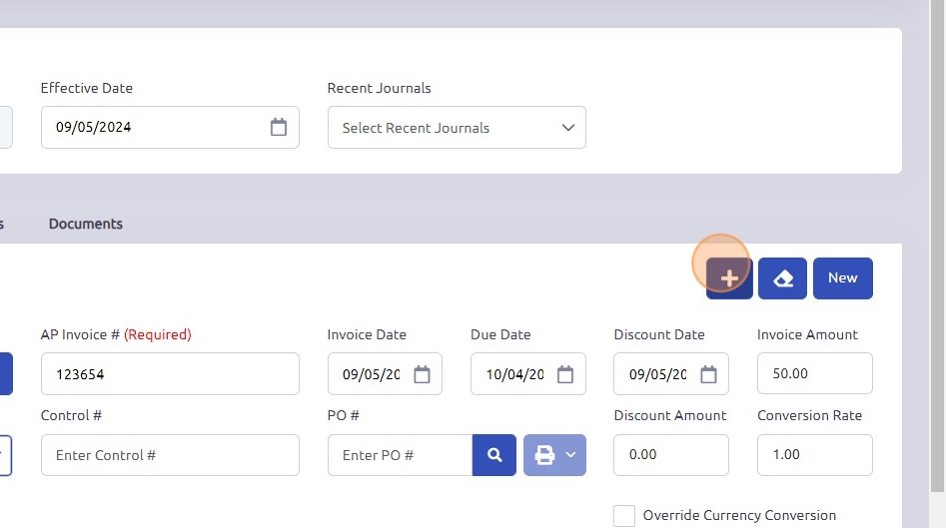
7. Click the "+" button to add the invoice entry.

8. Select the invoice entry and add the AP Invoice Distribution information by selecting the account to which you are applying the distribution from thee drop-down menu. The other fields are optional to use at your discretion.

9. Click "Allocation" to allocate the expenses to the correct accounts.

10. Click "Save" and double check all information for accuracy.

11. Click "Post".

12. Click "Yes"

Was this article helpful?
That’s Great!
Thank you for your feedback
Sorry! We couldn't be helpful
Thank you for your feedback
Feedback sent
We appreciate your effort and will try to fix the article