1. In the AP Payments Program, the "Auto Payments" feature allows you to efficiently manage and pay multiple invoices across different vendors simultaneously.

2. Use the calendar feature or manually enter the correct due date to display invoices within due date cutoff.
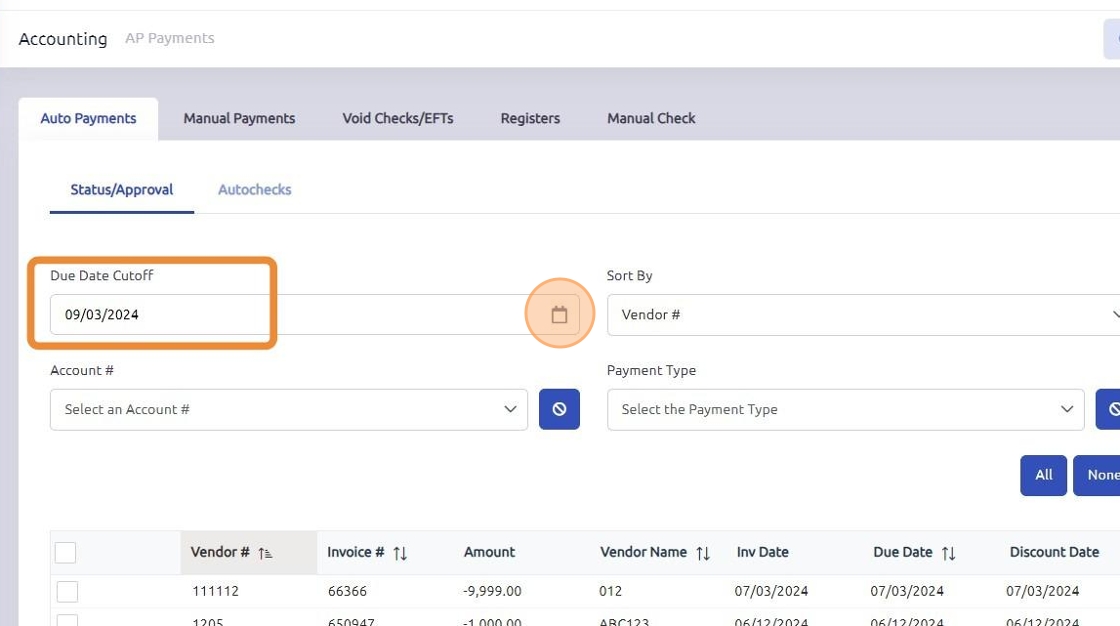
3. Click on the checkbox next to each invoice you want to include in the auto payment process. This allows you to choose multiple invoices with different vendors at once.
*Note: To authorize partial payment of an invoice, select that invoice individually.

4. Scroll down and click "Authorized".

5. All authorized invoices will appear at the bottom of the screen, double check for accuracy.

6. Click "Autochecks"

7. Select the correct cash account and payment type from the drop down menus.
Discount account can be utilized if needed, this field is optional .

8. Click "Build"

9. If no discount accounts are required click "Yes"

10. Click "Print"

11. Click "Yes"

12. Print the checks by clicking "Print".

13. Click "OK"

14. Click "Post" to post these payments to the GL.

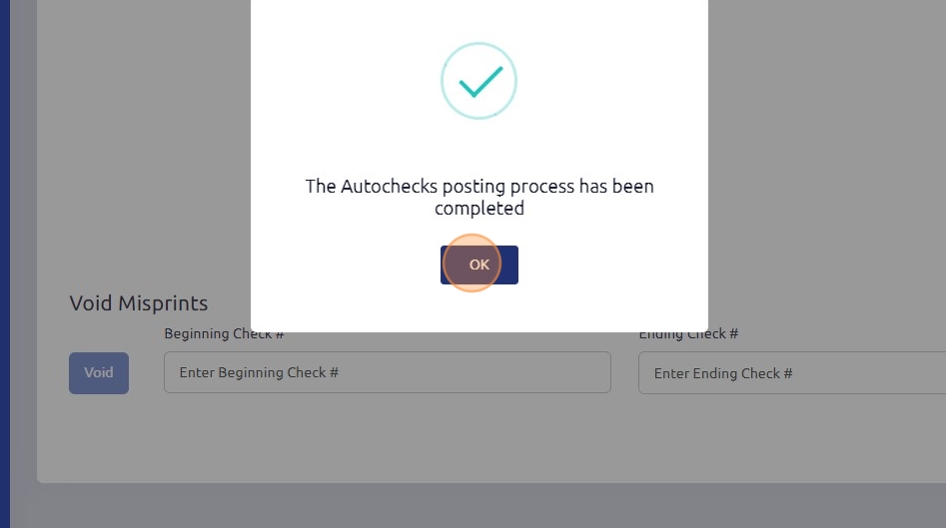
15. Once completed, click "OK"
Was this article helpful?
That’s Great!
Thank you for your feedback
Sorry! We couldn't be helpful
Thank you for your feedback
Feedback sent
We appreciate your effort and will try to fix the article