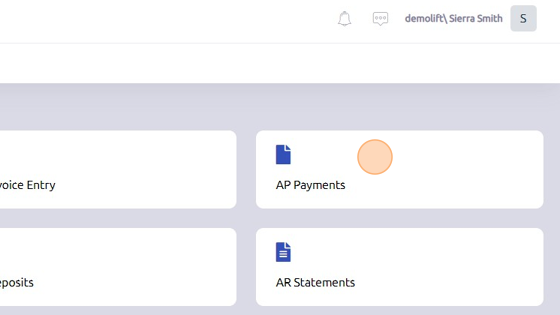
1. Open AP Payments from Accounting page.
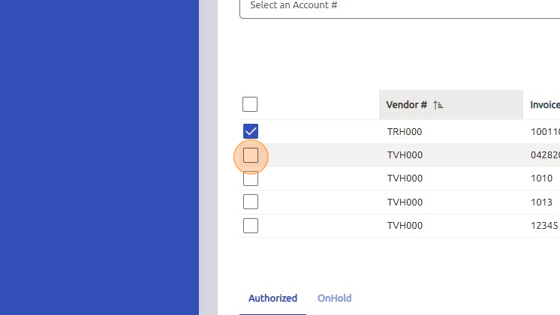
2. On the Auto Payments tab. select invoices for payment (single or multiple).
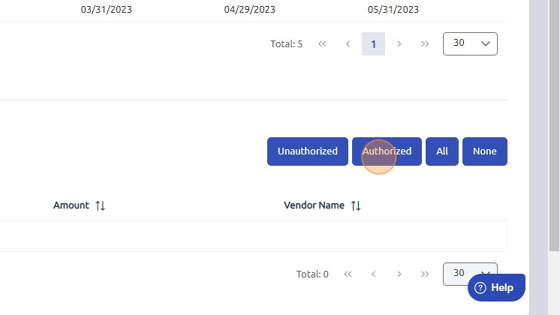
3. Click "Authorized" to authorize invoices for payment.
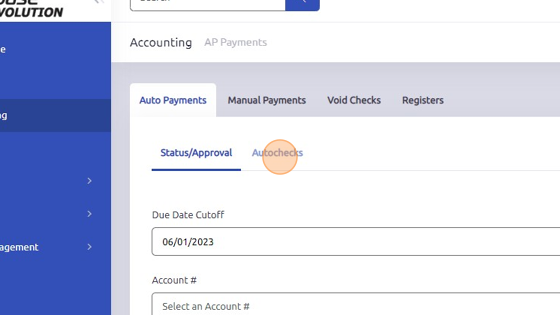
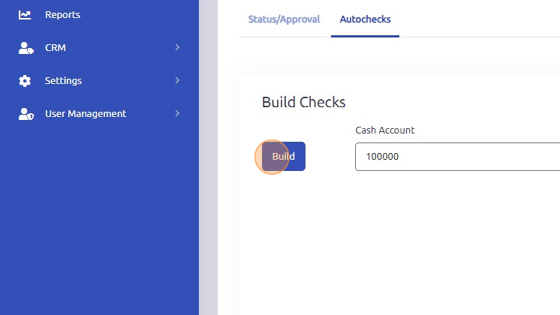
4. Click "Autochecks"
5. Click "Build" to build checks. Make sure Cash Account and Payment Type are selected.
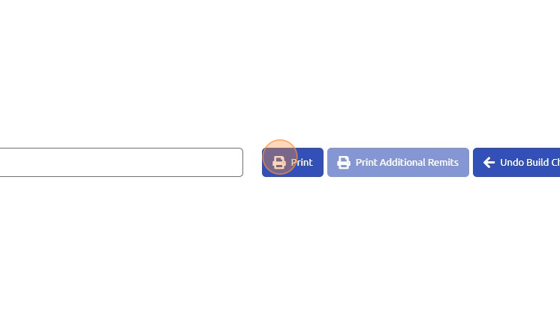
6. Click here to print checks.
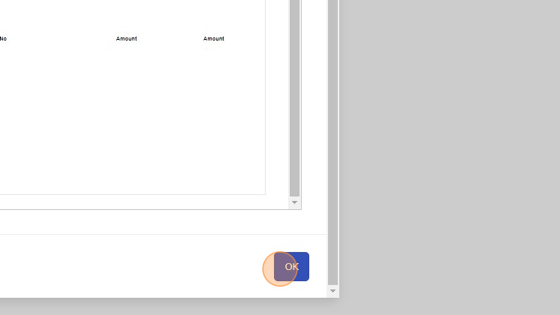
7. Click "OK"
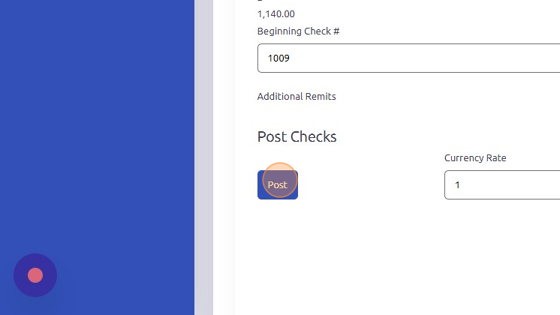
8. Click "Post" to post checks.
** Note when additional remits are needed:
When the number of invoices exceeds the amount of rows set to print you will run the initial print of the checks, once that is completed the Print Additional Remits button becomes available. Select the print additional remits button and the additional checks will print. See below screenshots.
Print initial check run:

Once those are printed, select the print additional remits:

The additional remit pages would need to be printed on regular print paper.
Was this article helpful?
That’s Great!
Thank you for your feedback
Sorry! We couldn't be helpful
Thank you for your feedback
Feedback sent
We appreciate your effort and will try to fix the article