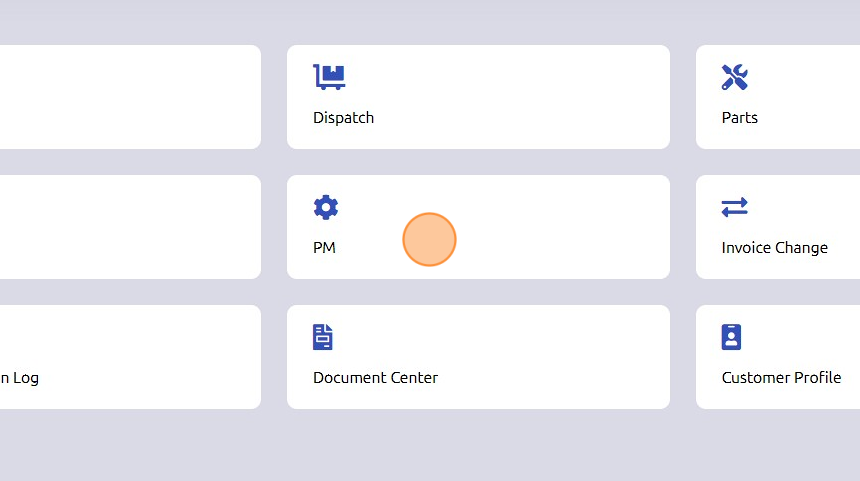
1. General > PM
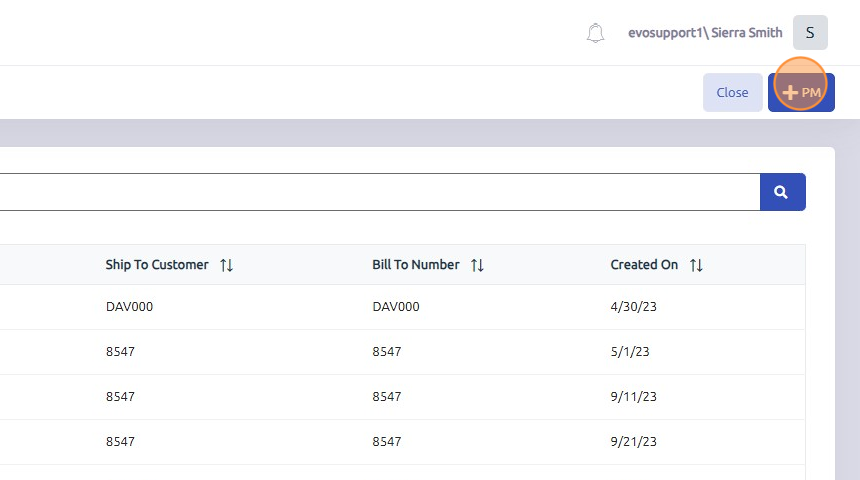
2. Click +PM to add a new PM Record
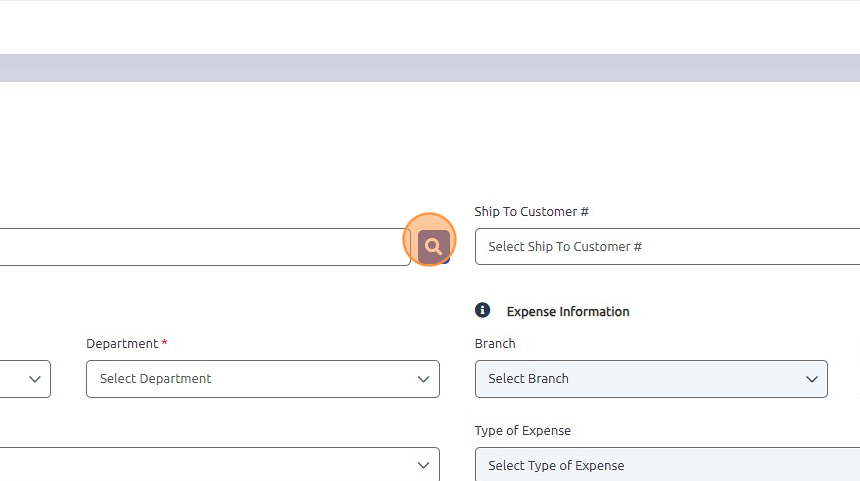
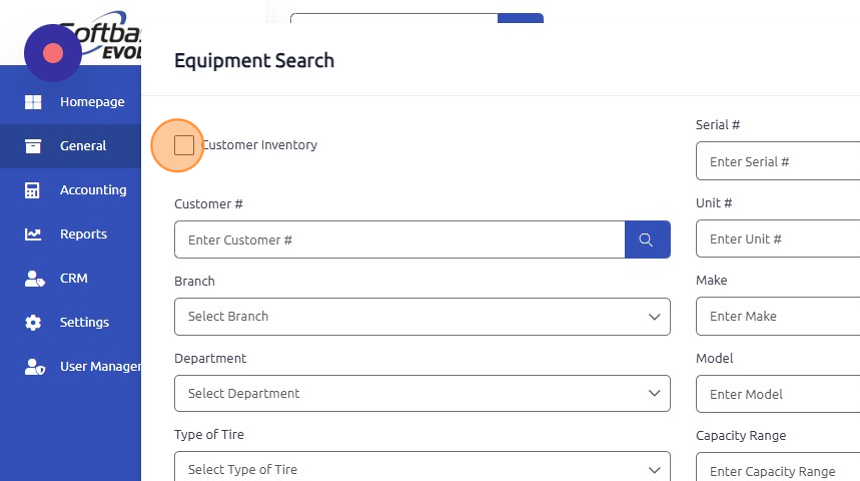
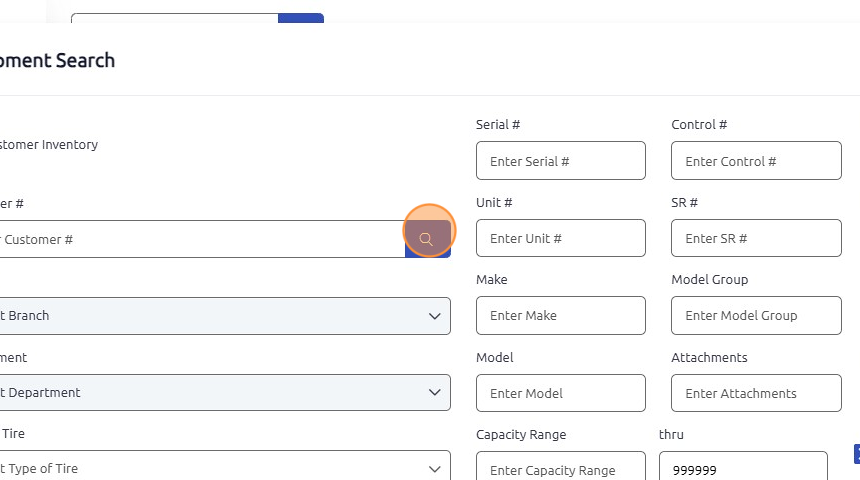
3. Enter Serial # of unit if you know it entirely or click the magnifying glass to search for it.
4. To search for customer owned equipment, set Customer Inventory checkbox to true.
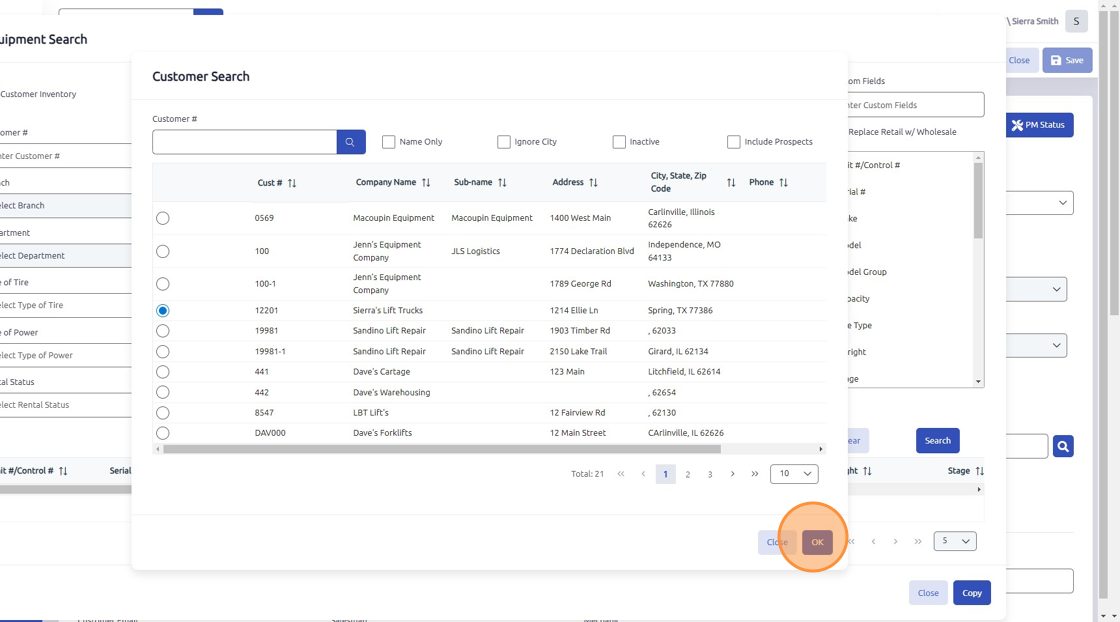
5. Enter customer # if you know it entirely or search for it using the magnifying glass.
6. Select customer.
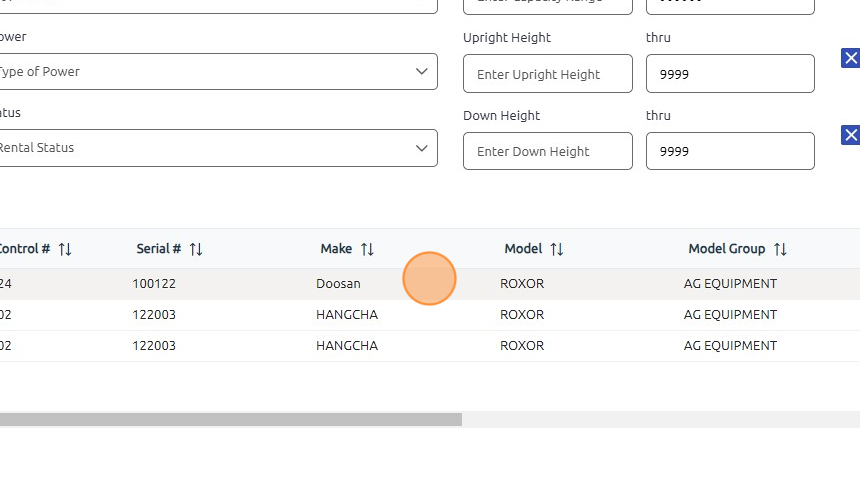
7. Select unit from list of equipment owned by selected customer.
8. Set Branch.
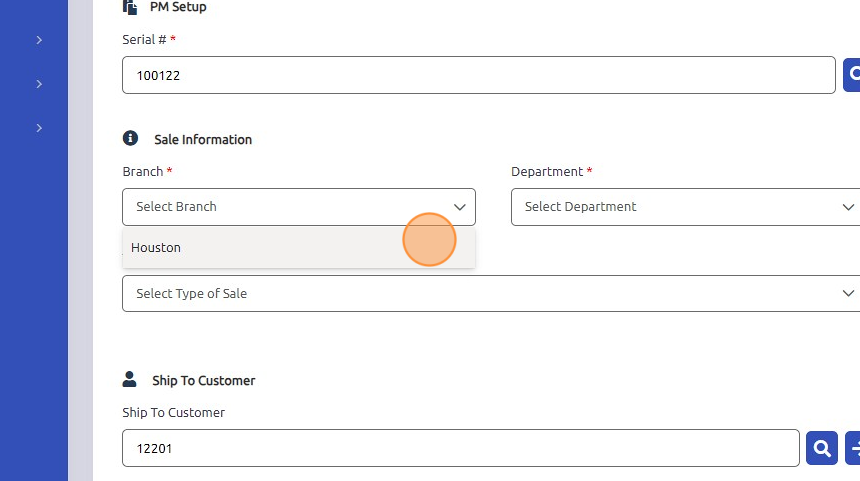
9. Set Department (PM).
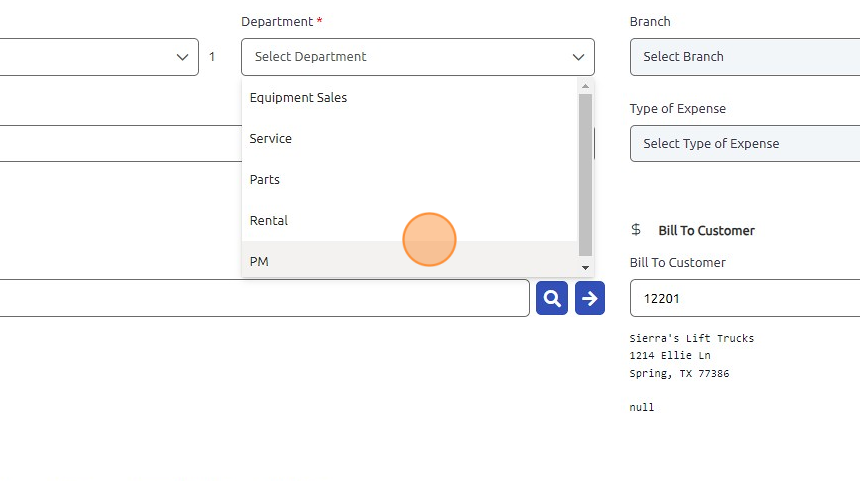
10. Set Type of Sale.
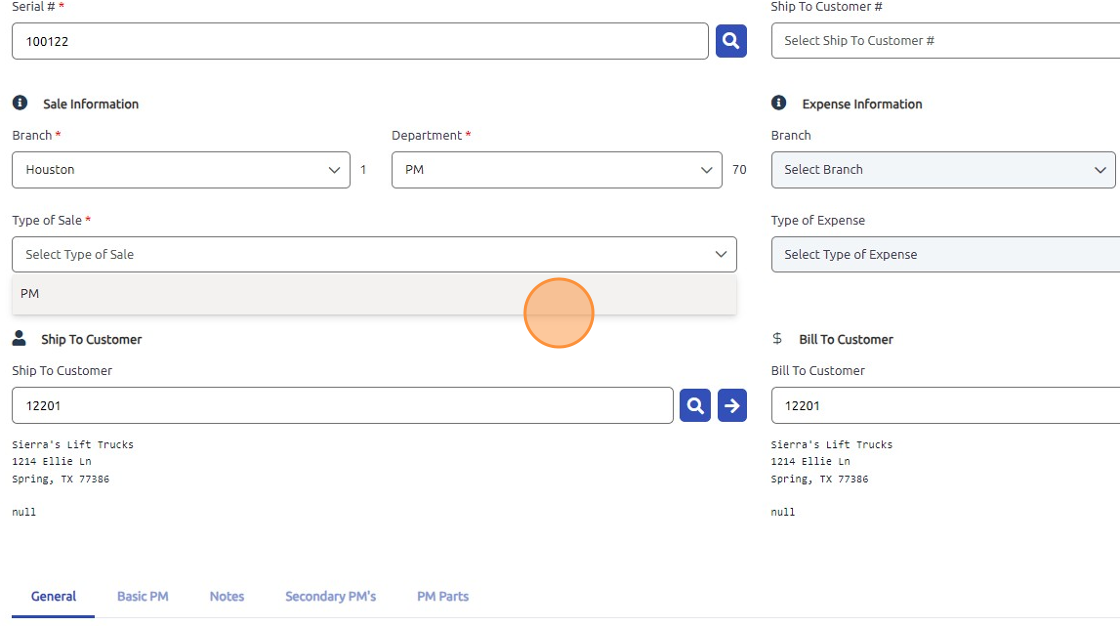
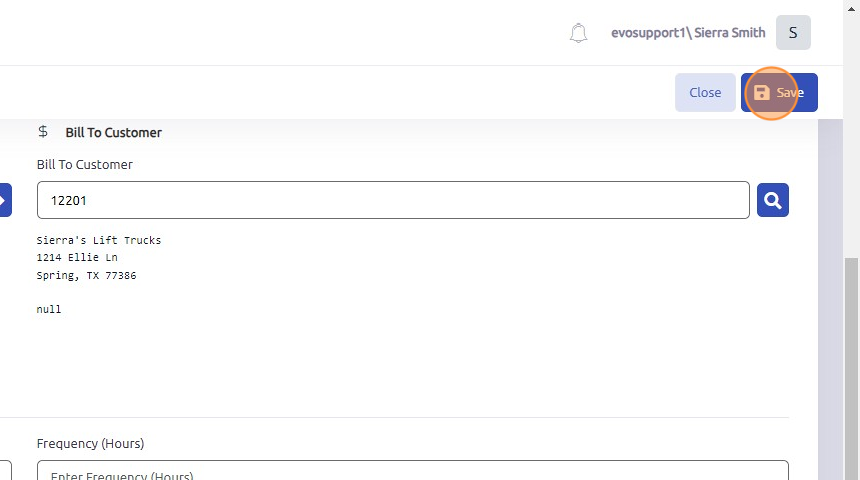
11. Click here to save header information.
12. Under the General tab, set Automatic Open checkbox to true if you'd like for this PM to be included when the Auto-Open tool is used to generate an invoice for all PMs currently due.
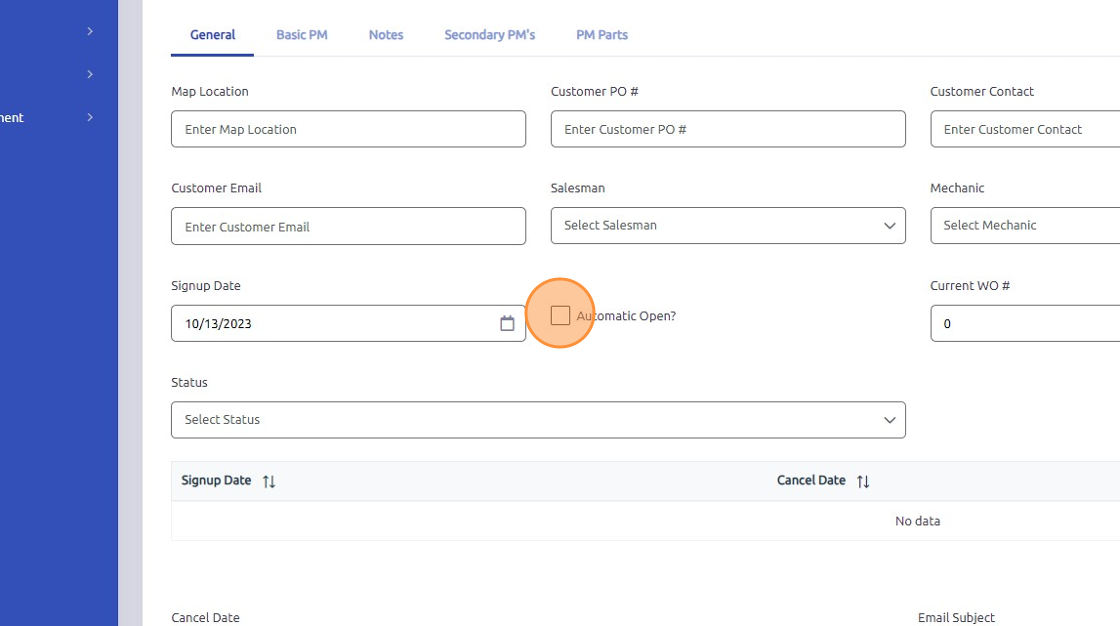
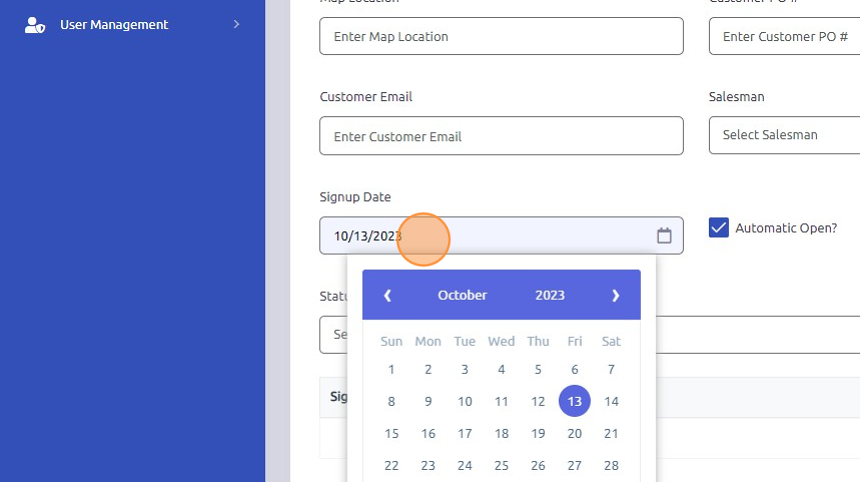
13. Set PM Signup Date if accessible. All other tabs are informational / optional.
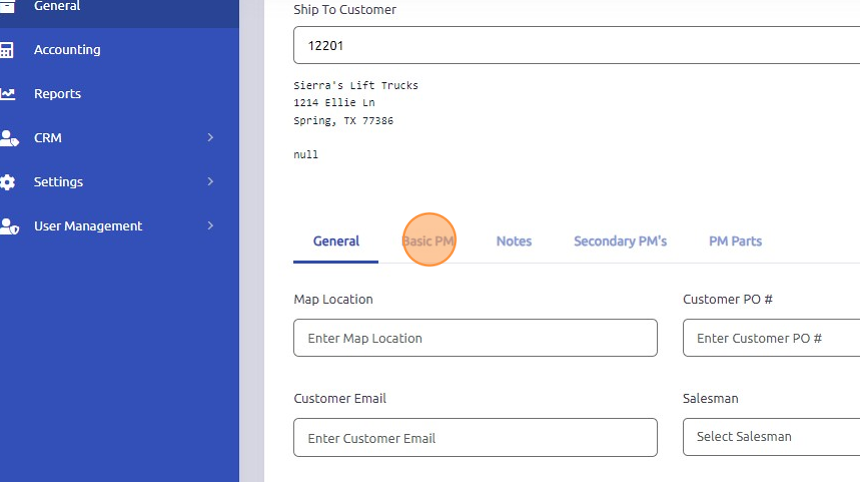
14. Open Basic PM tab.
15. In this tab, you can set the PM to a frequency of days or hours.
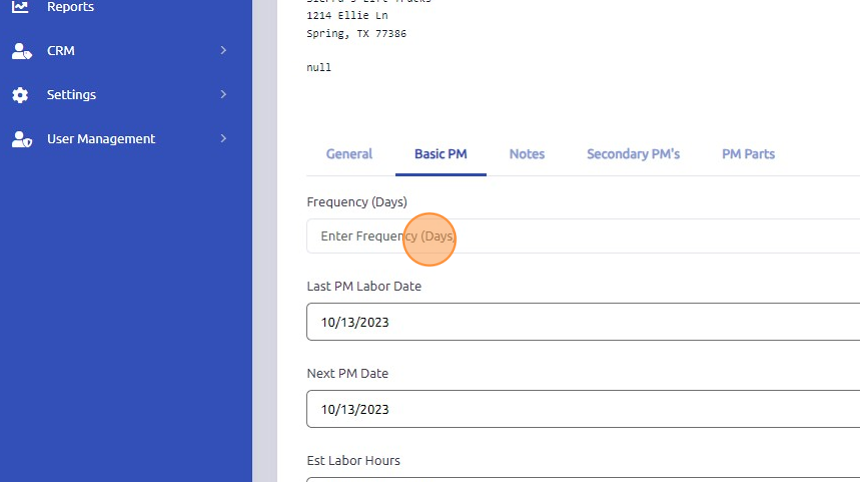
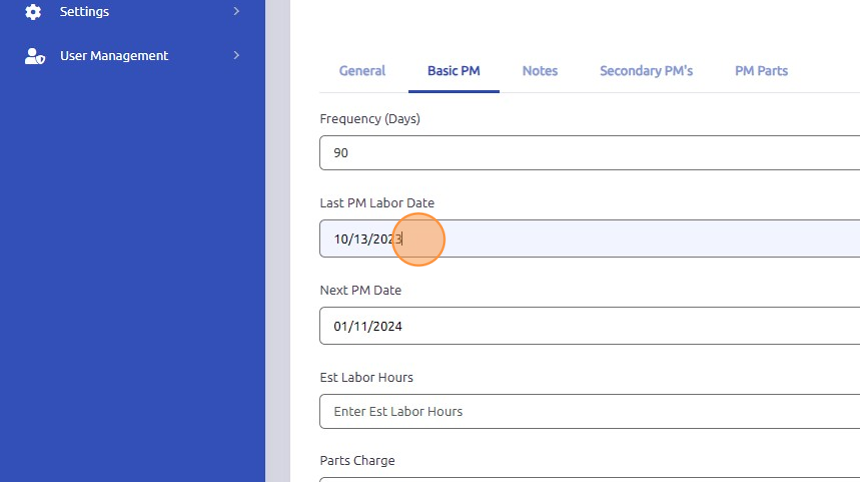
16. If using frequency of days, enter the Last PM Labor Date in this field. The Last PM Date will auto-populate the Next PM Date based on the frequency of days entered in the top field.
17. If using frequency of hours, enter the hours here.
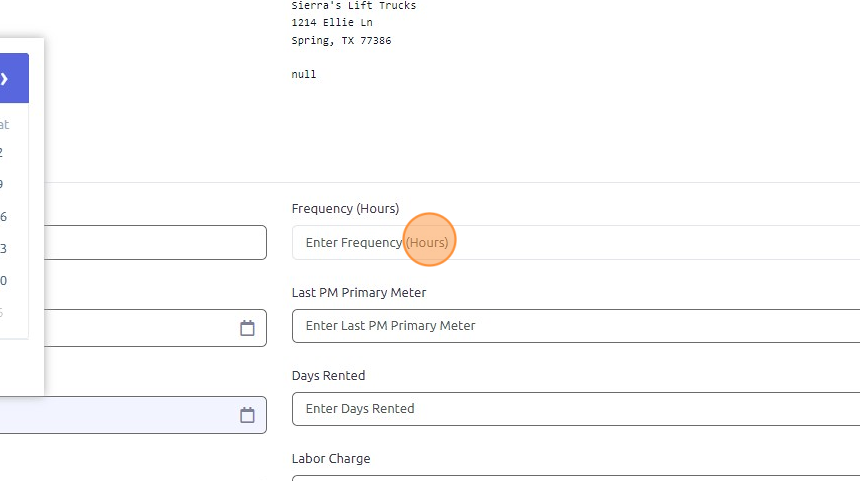
18. Enter the Last PM Primary Meter reading for the unit. PM due date will generate based on updates to the primary meter.
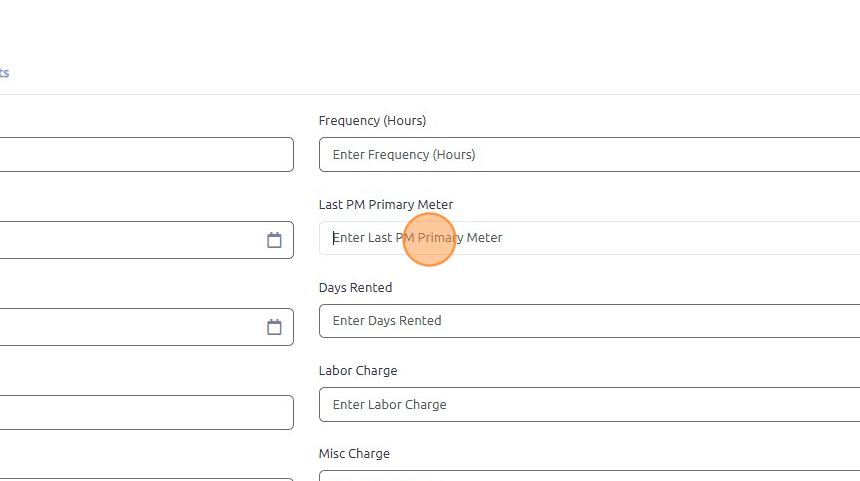
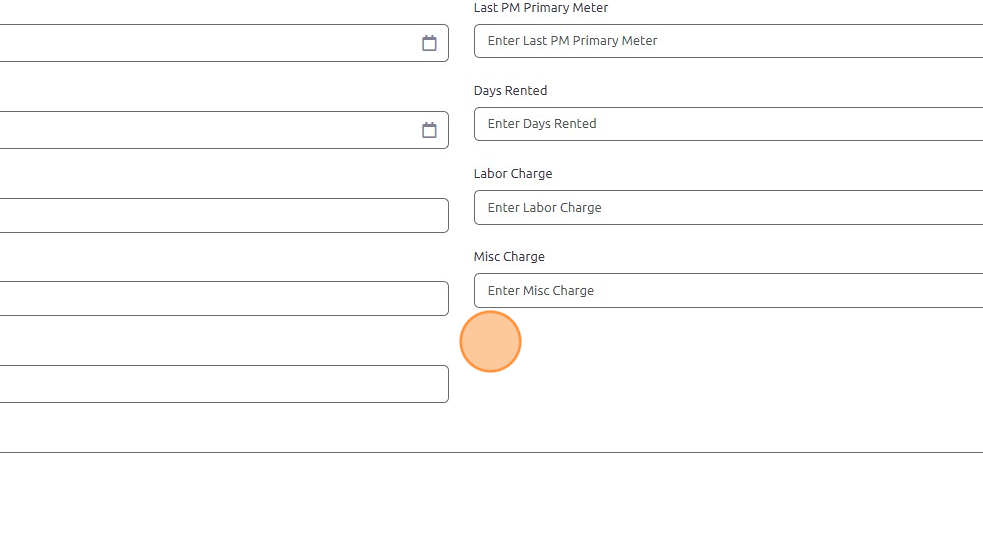
19. All other fields are informational / optional. Charges refer to flat rates that will be automatically added to the PM work order for this unit.
TO SET THIS EQUIPMENT UP TO RECEIVE SECONDARY PM'S - open to Secondary PMs tab, select the PM from the dropdown, complete the same fields as above and click the + to attach that PM as well.
** The list of Secondary PM's is populated based on what is setup for the Company. To add to this list go to Settings > Administration > Secondary PM's.
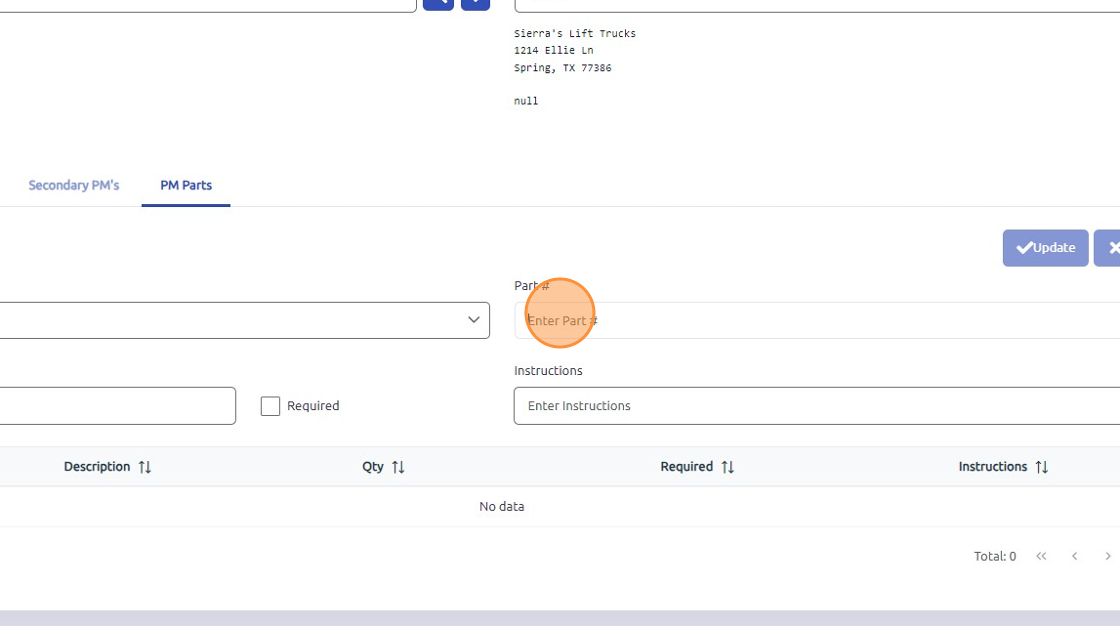
TO ADD PM PARTS LIST DO THE FOLLOWING STEPS
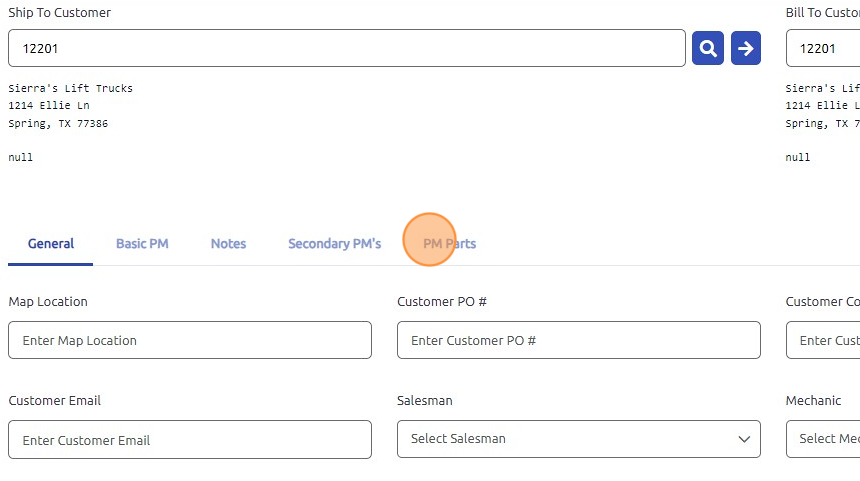
20. Open PM Parts tab. This tab allows you to include a list of all PM Parts typically used when performing this PM. This list is used for reference only and will not affect inventory until manually entered in the Parts tab of the work order.
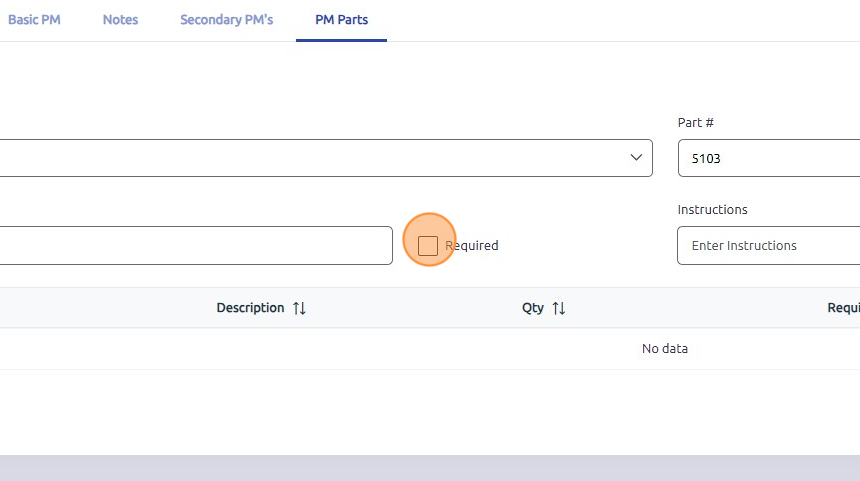
21. Enter Part #.
22. Set Required checkbox to true to indicate if this part is always required on this PM.
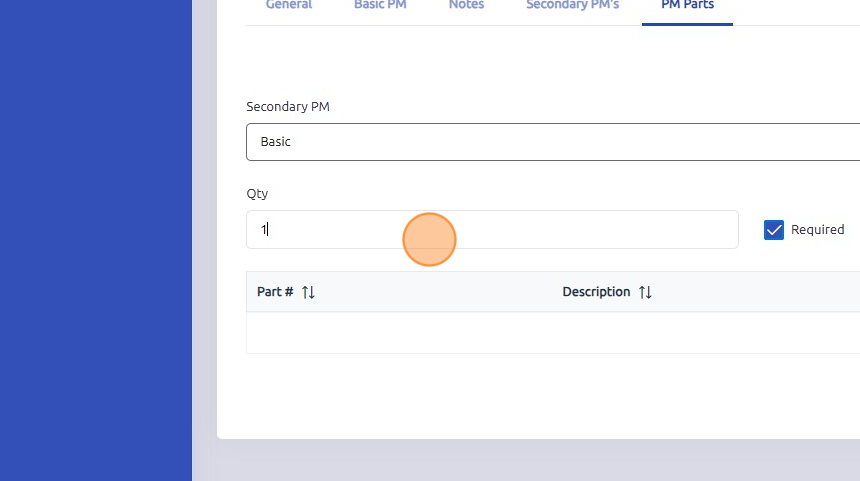
23. Enter the quantity of the part used for this PM.
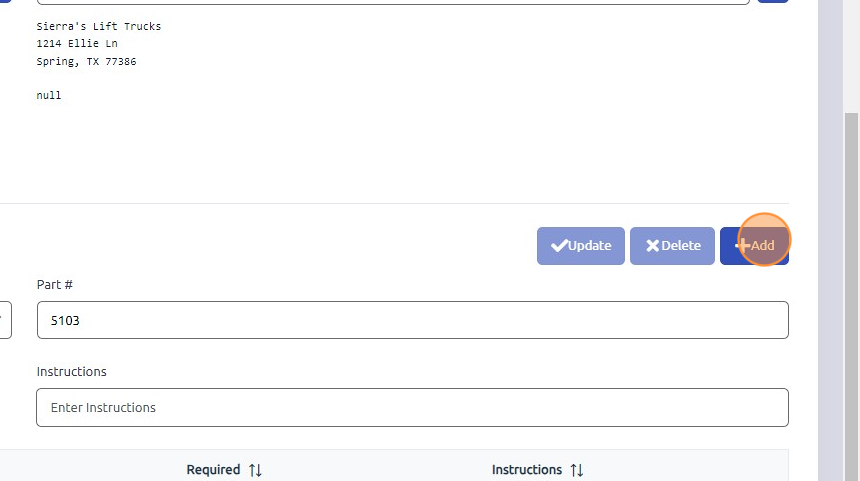
24. Click Add to save part to PM record. If changes are necessary, select the part line item, make changes and click Update.
Was this article helpful?
That’s Great!
Thank you for your feedback
Sorry! We couldn't be helpful
Thank you for your feedback
Feedback sent
We appreciate your effort and will try to fix the article