Set Part / Customer / Vendor Alias

Modified on Wed, 21 Jun, 2023 at 10:10 AM

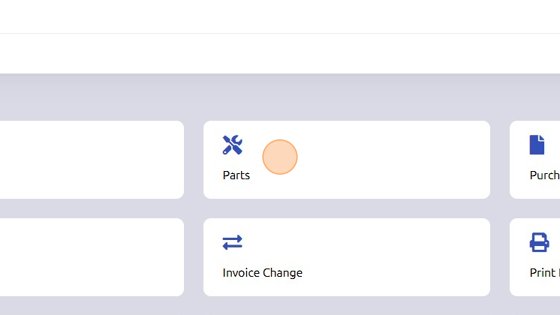
1. Open Parts from General page.

Screenshot of: Open Parts from General page.


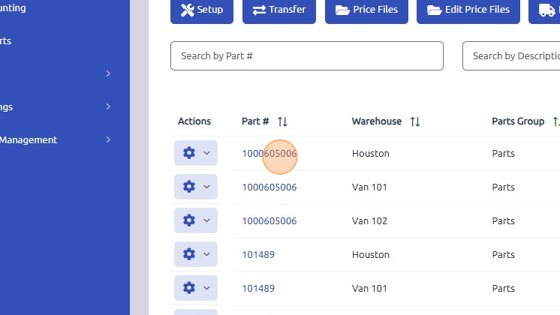
2. Select part you'd like to set as Alias.
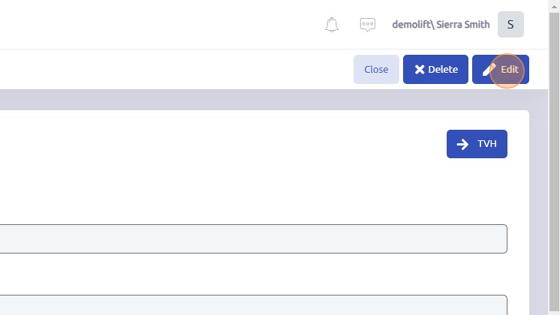
Screenshot of: Select part you'd like to set as Alias.


3. Click "Edit"

Screenshot of: Click "Edit"


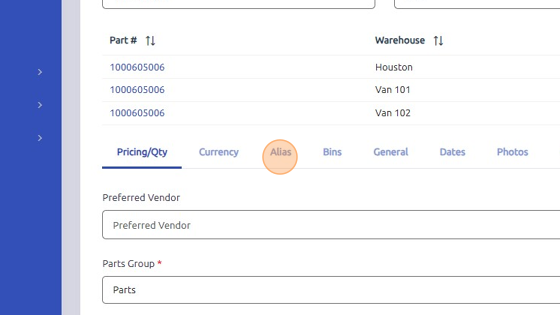
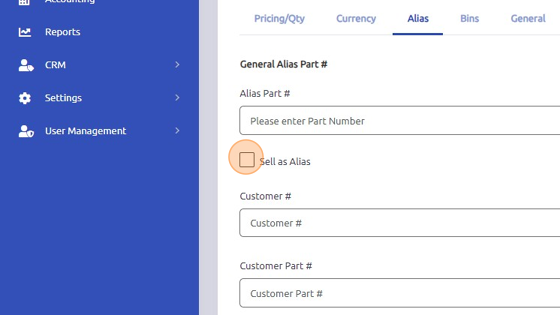
4. Open "Alias" tab.

Screenshot of: Open "Alias" tab.


5. Enter Alias Part # and then check "Sell as Alias" box.
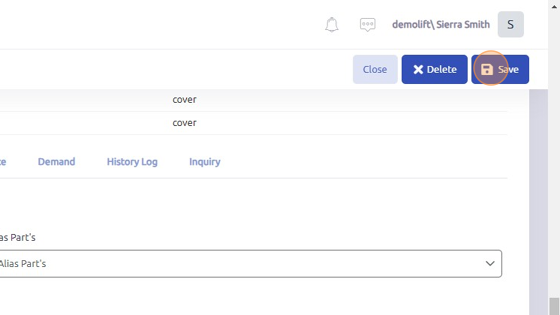
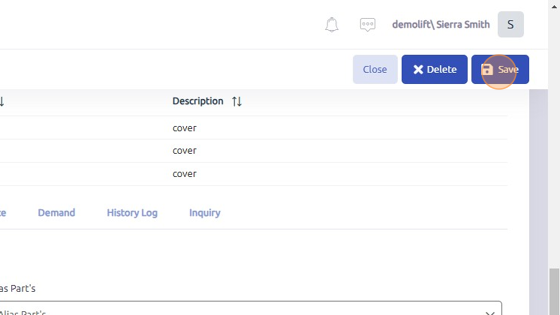
Screenshot of: Enter Alias Part # and then check "Sell as Alias"  box.


6. Click Save.

Screenshot of: Click Save.


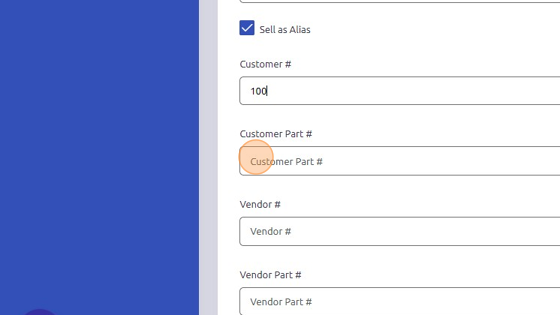
7. To sell the Alias part to a specific customer, enter Customer # here.

Screenshot of: To sell the Alias part to a specific customer, enter Customer # here.


8. Enter the unique Part # in Customer Part # field.

Screenshot of: Enter the unique Part # in Customer Part # field.


9. Enter description of part in Customer Description field.

Screenshot of: Enter description of part in Customer Description field.


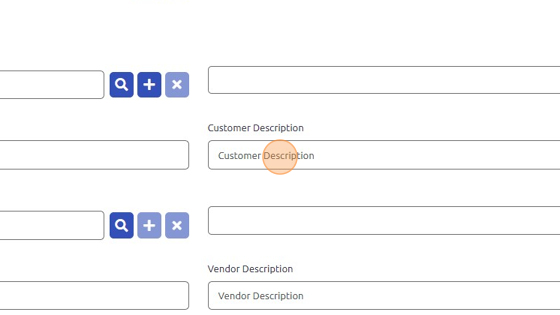
10. Click Save. Note: Customer Alias function will only work if the Customer # is listed in the Ship To Customer field on the Work Order.

Screenshot of: Click Save. Note: Customer Alias function will only work if the Customer # is listed in the Ship To Customer field on the Work Order.


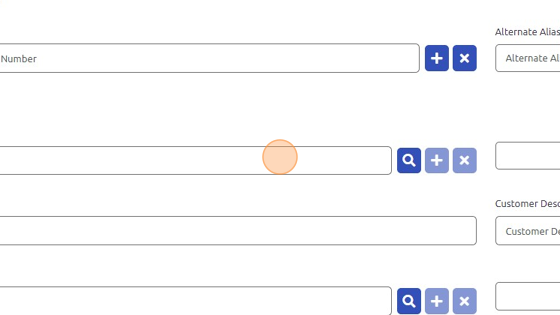
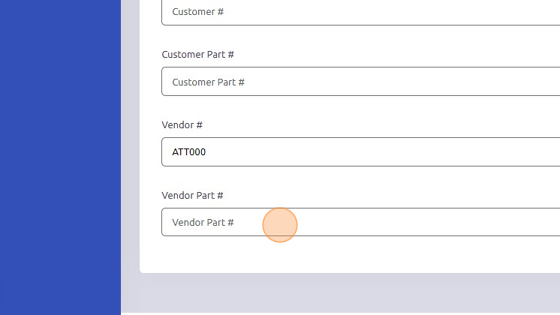
11. To set Vendor Alias, enter vendor number here or use magnifying glass to search.

Screenshot of: To set Vendor Alias, enter vendor number here or use magnifying glass to search.


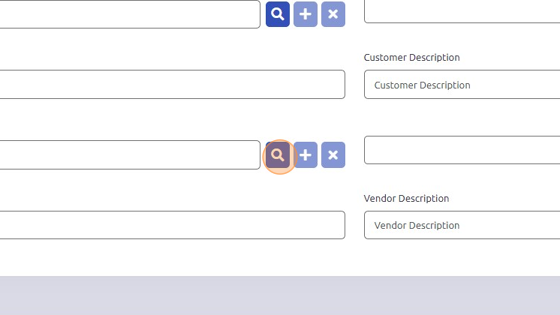
12. Enter unique Part # here.

Screenshot of: Enter unique Part # here.


13. Enter Part # description here.
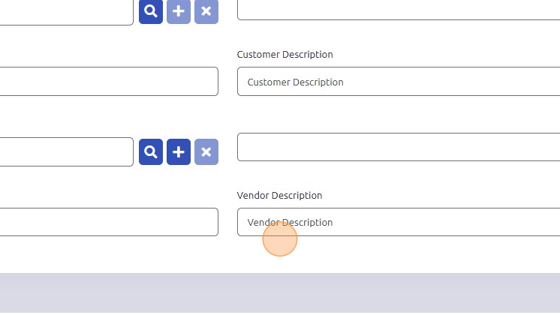
Screenshot of: Enter Part # description here.


14. Click "Save"

Screenshot of: Click "Save"


Was this article helpful?

That’s Great!

Thank you for your feedback

Sorry! We couldn't be helpful

Thank you for your feedback

Let us know how can we improve this article!

Select at least one of the reasons
CAPTCHA verification is required.

Feedback sent

We appreciate your effort and will try to fix the article