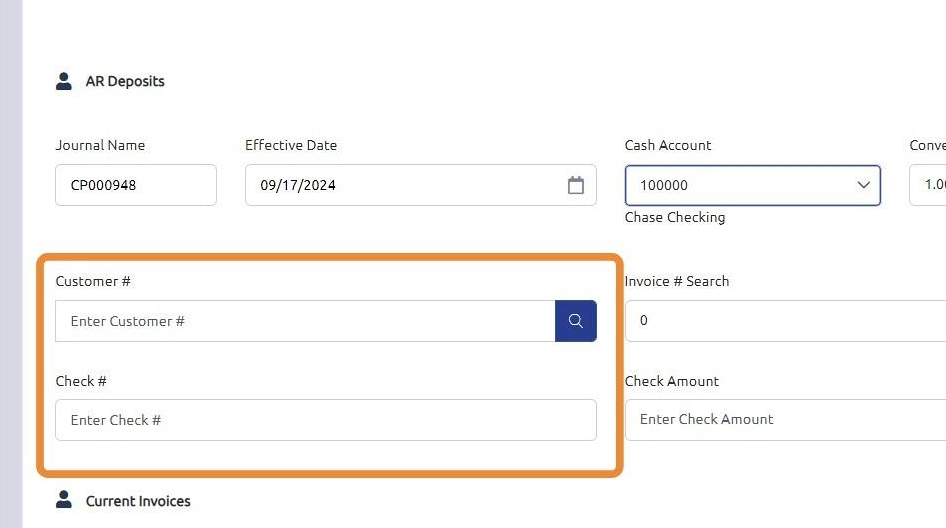
1. In this scenario we have received a check from a customer, but they "short paid" the invoice due to a dispute over freight charges. Utilizing the AR Deposits program we will discount their invoice and allocate the remaining balance to the correct expense account.
In the Accounting section and in the AR Deposits program, click "Next Journal #" to generate a new journal entry.

2. Select the correct Cash Account.

3. Enter, or search for the correct customer number and enter the Check #.

4. Input the check amount that was received from the customer.

5. Select the invoice the customer has indicated this payment is for.
**Note: double clicking the invoice from this grid will automatically add the detail to the posting.

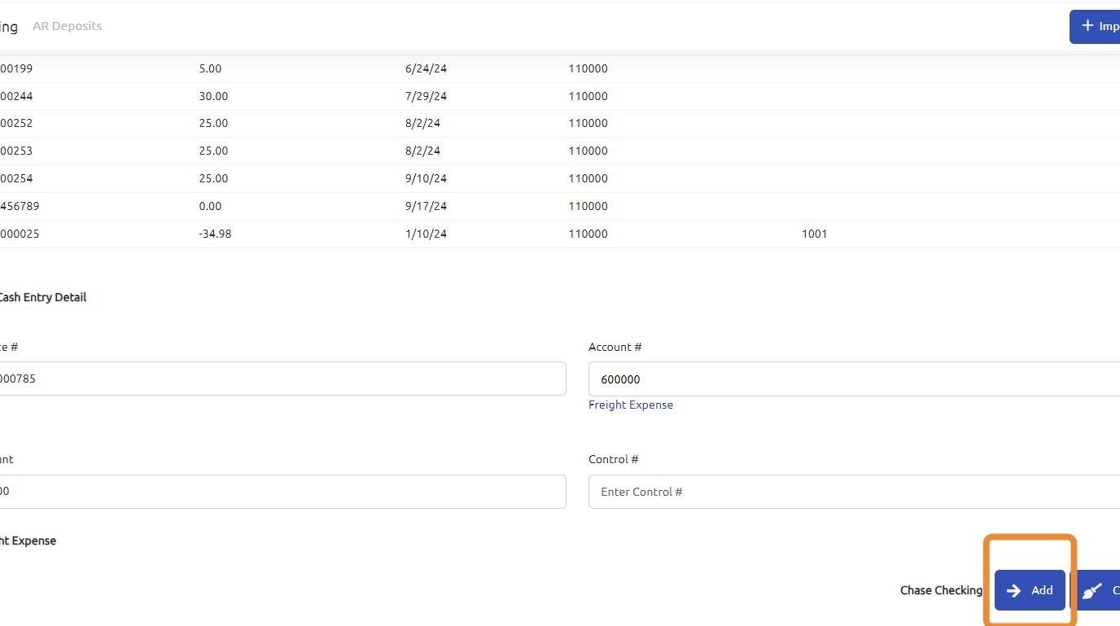
6. Click "Add"

7. The remaining balance that is not "paid" will auto populate into the Cash Entry Detail.
In this scenario, the customer sent a check for $950.00, instead of $977.00, the remaining $27.00 still needs to be allocated to balance this post. Due to this edit the account number for this detail.

8. Enter the correct expense account, or utilize the search function to select it from the Chart of Accounts.

9. Click "Add"

10. Once the check total balances with the details entered, the "Post" button will appear. If this button does not appear it indicates that something is out of balance and needs to be reviewed.

11. Click "Yes"

12. In the Journal Totals section, you will see the following:
- The check amount received from the customer.
- The total of the invoice.
- The amount expensed, or discounted, from the invoice and allocated to an expense account.

Was this article helpful?
That’s Great!
Thank you for your feedback
Sorry! We couldn't be helpful
Thank you for your feedback
Feedback sent
We appreciate your effort and will try to fix the article