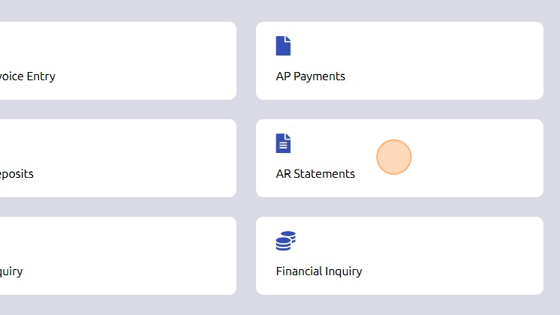
1. Click "AR Statements"
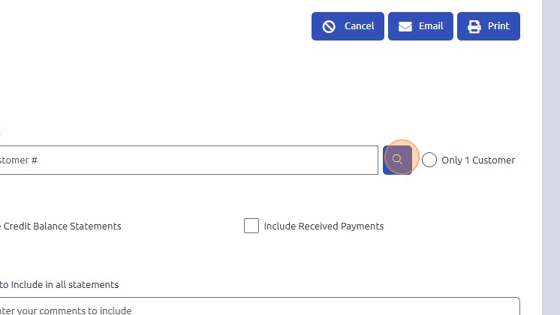
2. Search for customer.
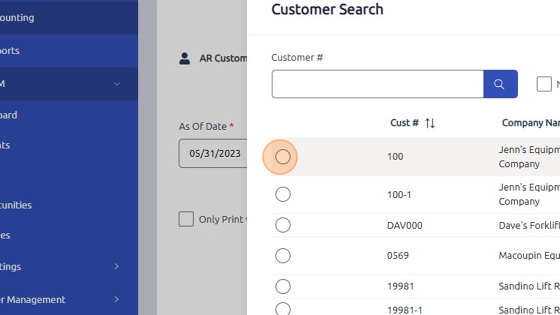
3. Select customer.
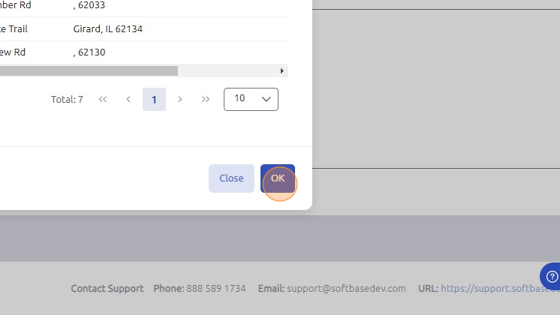
4. Click "OK"
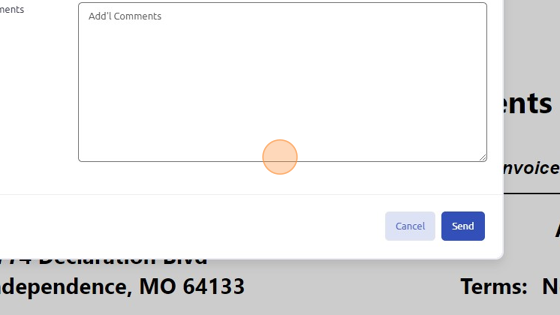
5. Enter comment to include in statement.
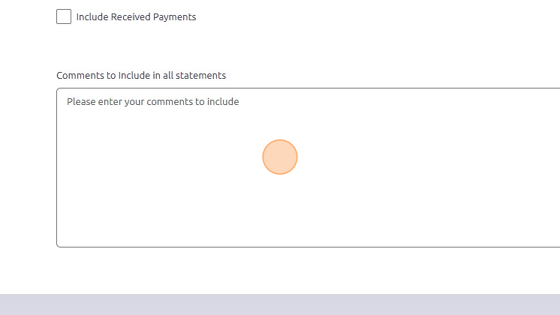
6. Check "Include Received Payments" box to show payments received.
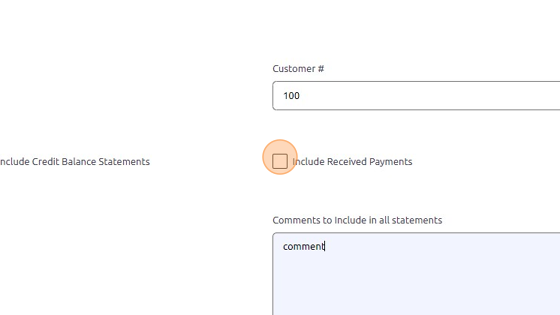
7. Click "Print"
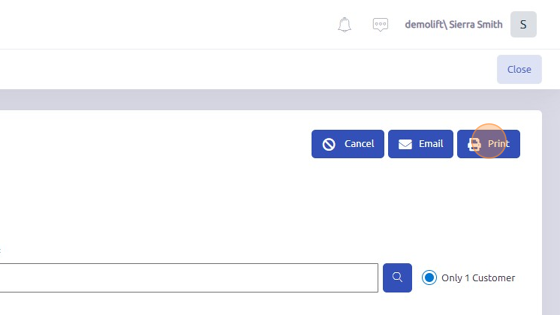
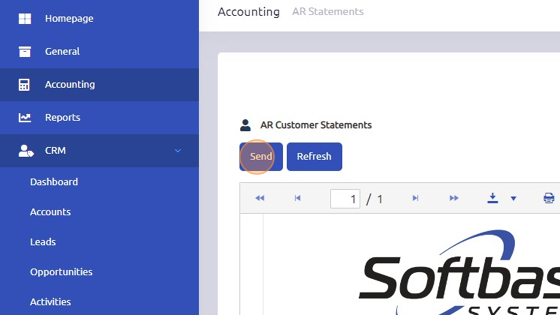
8. View Accounts Receivable Statements.
9. Click "Send" to email statement.
10. Enter email details to send statement via email.
Was this article helpful?
That’s Great!
Thank you for your feedback
Sorry! We couldn't be helpful
Thank you for your feedback
Feedback sent
We appreciate your effort and will try to fix the article