Set Up Demand Rating for a Parts Group

Modified on Tue, 20 Jun 2023 at 10:09 AM

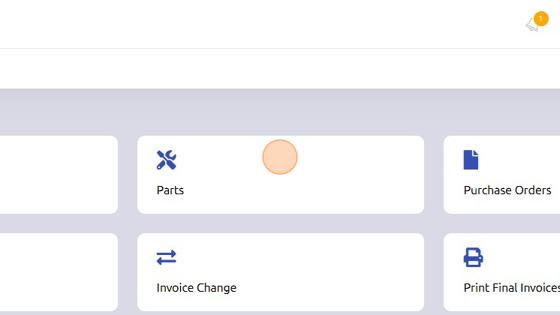
1. Open Parts from General page.
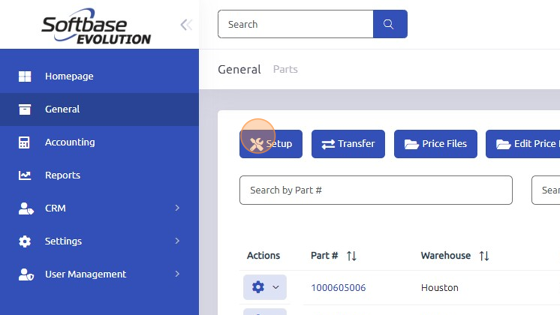
Screenshot of: Open Parts from General page.


2. Open "Setup"

Screenshot of: Open "Setup"


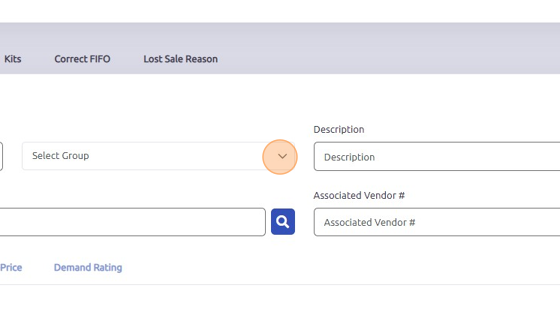
3. Select Part Group you'd like to set Demand Rating for from dropdown.

Screenshot of: Select Part Group you'd like to set Demand Rating for from dropdown.


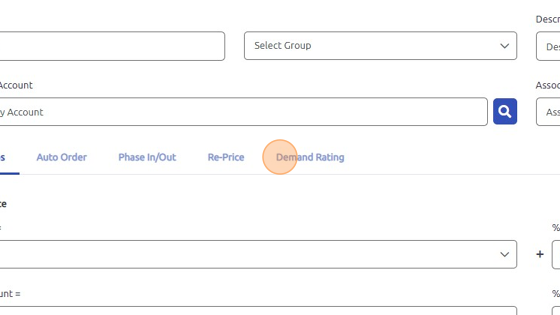
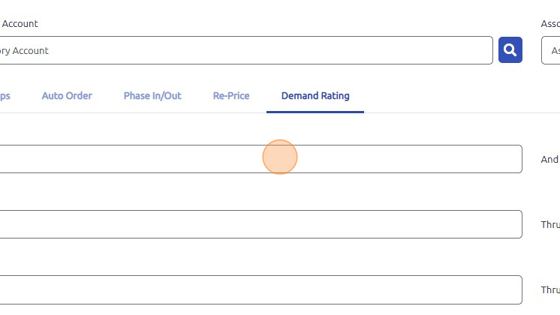
4. Open Demand Rating tab.

Screenshot of: Open Demand Rating tab.


5. Enter values in A-D fields and Months to Average. A = best for demand (ex: 6+); B = great for demand (ex: 4-5); C = good for demand (ex: 2-3); D = ok for demand (ex: 1); E = below count of D (ex: 0); Months to Average = how many months you are averaging for the rating.

Screenshot of: Enter values in A-D fields and Months to Average. A = best for demand (ex: 6+); B = great for demand (ex: 4-5); C = good for demand (ex: 2-3); D = ok for demand (ex: 1); E = below count of D (ex: 0); Months to Average = how many months you are averaging for the rating.


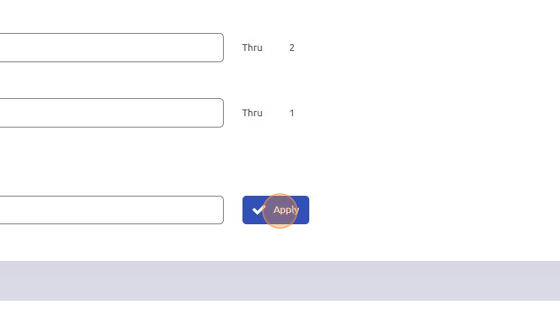
6. Click "Apply" to apply entered values.
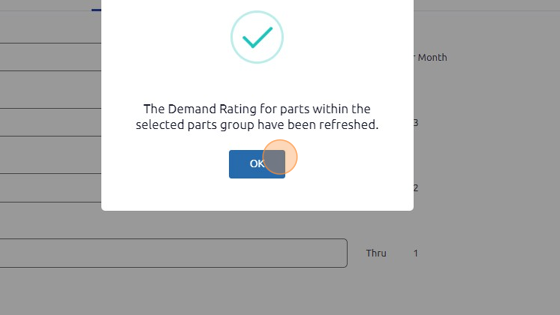
Screenshot of: Click "Apply" to apply entered values.


7. Click "OK"

Screenshot of: Click "OK"


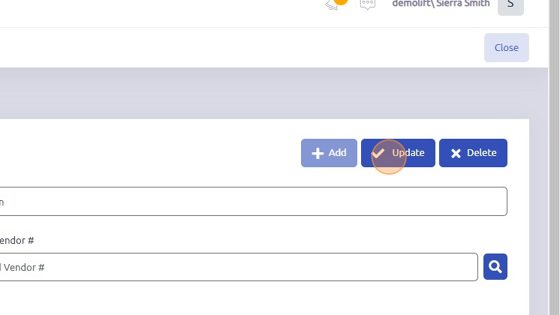
8. Click "Update" to save changes to Parts Group.

Screenshot of: Click "Update" to save changes to Parts Group.


Was this article helpful?

That’s Great!

Thank you for your feedback

Sorry! We couldn't be helpful

Thank you for your feedback

Let us know how can we improve this article!

Select atleast one of the reasons
CAPTCHA verification is required.

Feedback sent

We appreciate your effort and will try to fix the article